Today I had a visit from fellow WDer Tim Gow from "Megablitz and More". He came to see me on a business matter, but we also found the time to squeeze in some "Shed Action".
As we haven't had a game for a while I was in a bit of a quandary as to what to put on. Then the answer became obvious. The Taiping's have been finished recently and haven't been blooded yet. "Taiping Era" it is then, prompting some late might flag painting.
Not having played the rules for a while I set up a fairly simple confrontation. I hadn't realised how many Imperials I had, so I had to cut the army size back to make a game of it.
It was a good refresher for me of the rules and Tim made some helpful suggestions as well in areas where the rules have proved problematic in the past. I also learned not to pack the centre of the table with terrain if you want the game to move forward swiftly.

My Imperials are to the left, Tim's Rebels to the right. We meet in a fertile valley, at a cross roads dividing the local paddy fields.
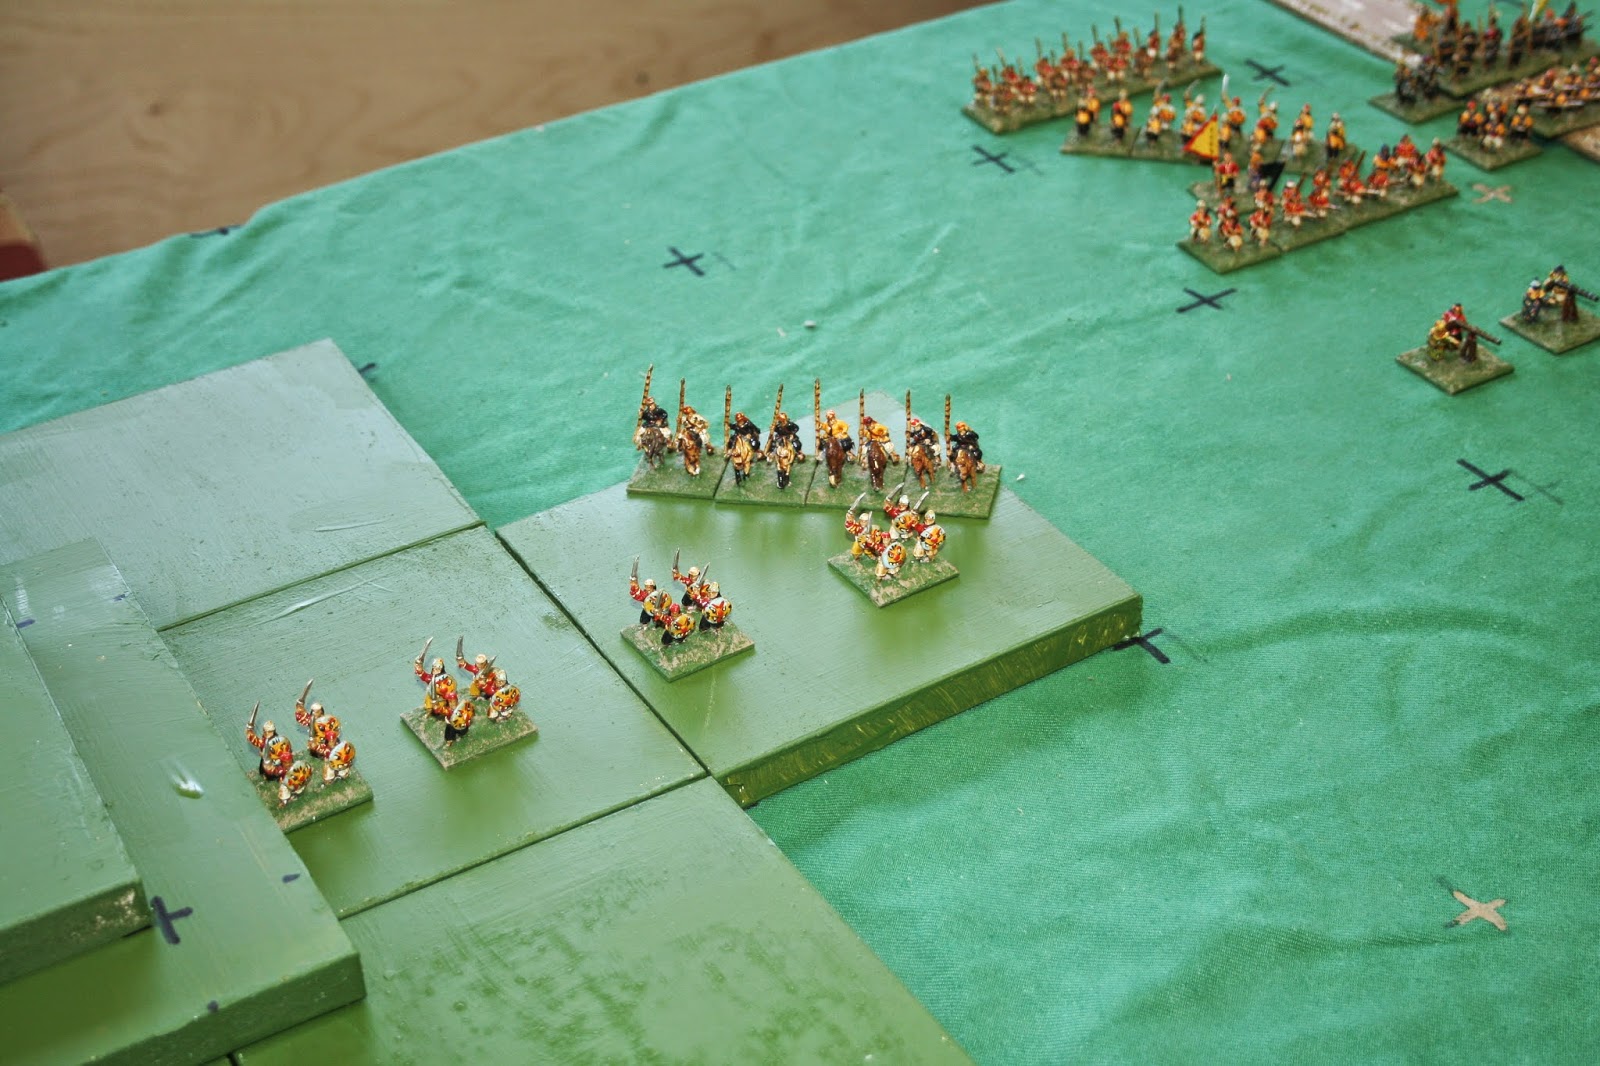
Tim, worried about his right flank, bolsters his sword and shield men with a unit of cavalry.

He adopts a watchful pose in the centre, relying on his massed guns to drive off my superior forces.

I, cunningly, have deployed my artillery out of range and in the wrong place so I have no covering fire. This means my Tiger Men are swiftly broken by Tim's artillery, and are soon streaming towards the rear.

On my right my brave Manchoo horse wade through paddy fields to face down Tim's cavalry.

On my left I have massed my Mongol hordes, confident of smashing in Tim's flank guards and delivering me victory.

A vigorous round of combat sees one of my cavalry units needing to retire for refit, whilst Tim's skirmishers take to their heels.

Everywhere the mighty forces of the Empire press forward as the Taiping Rebels cower on their base line.

The left flank cavalry melee ends with both sides falling back after indecisive combat. On the far flank, and out of shot, we have broken a unit each and so both have some cavalry threatening our opponent's rear.

Here's a close up of Tim's right flank horse, showing their shaky morale with an MV ("Moral Vigour") marker of two.

Meanwhile in the middle my rallied Tiger Men have counter attacked and are just about to overrun those pesky Taiping jingals, whilst my own such unit pours fire into those opposing infantry.

Alas I am unable to close and break where I need to, and Tim's guns are breaking my units one at a time.

The left flank has descended into a stalemate as I am unable to rally my cavalry sufficiently to close again. Tim's superior quality troops are making a difference all along the line.

A final shot of the centre. Most of my infantry has broken and it is time for Tim to go home. Another victory for the Heavenly Kingdom.
I need to revisit my understanding of the rules and tidy up a few areas, but otherwise not too bad a return. I probably need more Taiping troops and I also need to look again at the command structure. Still, good enough to return to CoW, most probably.
(NB The rules are available as a download, top right of the page).
As we haven't had a game for a while I was in a bit of a quandary as to what to put on. Then the answer became obvious. The Taiping's have been finished recently and haven't been blooded yet. "Taiping Era" it is then, prompting some late might flag painting.
Not having played the rules for a while I set up a fairly simple confrontation. I hadn't realised how many Imperials I had, so I had to cut the army size back to make a game of it.
It was a good refresher for me of the rules and Tim made some helpful suggestions as well in areas where the rules have proved problematic in the past. I also learned not to pack the centre of the table with terrain if you want the game to move forward swiftly.
My Imperials are to the left, Tim's Rebels to the right. We meet in a fertile valley, at a cross roads dividing the local paddy fields.
Tim, worried about his right flank, bolsters his sword and shield men with a unit of cavalry.
He adopts a watchful pose in the centre, relying on his massed guns to drive off my superior forces.
I, cunningly, have deployed my artillery out of range and in the wrong place so I have no covering fire. This means my Tiger Men are swiftly broken by Tim's artillery, and are soon streaming towards the rear.
On my right my brave Manchoo horse wade through paddy fields to face down Tim's cavalry.
On my left I have massed my Mongol hordes, confident of smashing in Tim's flank guards and delivering me victory.
A vigorous round of combat sees one of my cavalry units needing to retire for refit, whilst Tim's skirmishers take to their heels.
Everywhere the mighty forces of the Empire press forward as the Taiping Rebels cower on their base line.
The left flank cavalry melee ends with both sides falling back after indecisive combat. On the far flank, and out of shot, we have broken a unit each and so both have some cavalry threatening our opponent's rear.
Here's a close up of Tim's right flank horse, showing their shaky morale with an MV ("Moral Vigour") marker of two.
Meanwhile in the middle my rallied Tiger Men have counter attacked and are just about to overrun those pesky Taiping jingals, whilst my own such unit pours fire into those opposing infantry.
Alas I am unable to close and break where I need to, and Tim's guns are breaking my units one at a time.
The left flank has descended into a stalemate as I am unable to rally my cavalry sufficiently to close again. Tim's superior quality troops are making a difference all along the line.
A final shot of the centre. Most of my infantry has broken and it is time for Tim to go home. Another victory for the Heavenly Kingdom.
I need to revisit my understanding of the rules and tidy up a few areas, but otherwise not too bad a return. I probably need more Taiping troops and I also need to look again at the command structure. Still, good enough to return to CoW, most probably.
(NB The rules are available as a download, top right of the page).
My victory came as something of a surprise. I can only conclude that you somehow managed to surpass my level of ineptitude! Up the revolution comrades....
ReplyDeleteI've re-read the rules. We were playing some of it wrong. I should have lost by even more.
Delete