"For Whom The Dice Rolls" was written specifically for the Spanish Civil War, and includes quite a few novel game mechanics. The armies in it perform differently from those in the Second World War and those in the Great War. Players may find that this gives rise to some odd outcomes, until they grasp what the author - that's me - was getting at. Here's my "dos", "don'ts" and "just for infos" in the rules to help you get through your first games successfully:
Rope
The rules and the system give the players enough rope to hang themselves pretty comprehensively. They aren't intended to catch you out, but it is possible to do some crazy things. If you find you can do something a bit crazy, it may not end well for you.
Multiple Activations
Units can do three activations per turn. That means that an infantry unit in trucks on a road can cover half the board in a single turn. Just because this is possible, doesn't mean it's a good idea (see "Rope" above). It is neither unrealistic for units to do this, nor is it unrealistic for them to come to grief. If you take a risk on something like this, congratulate yourself when it comes off, but don't blame the rules if it doesn't.
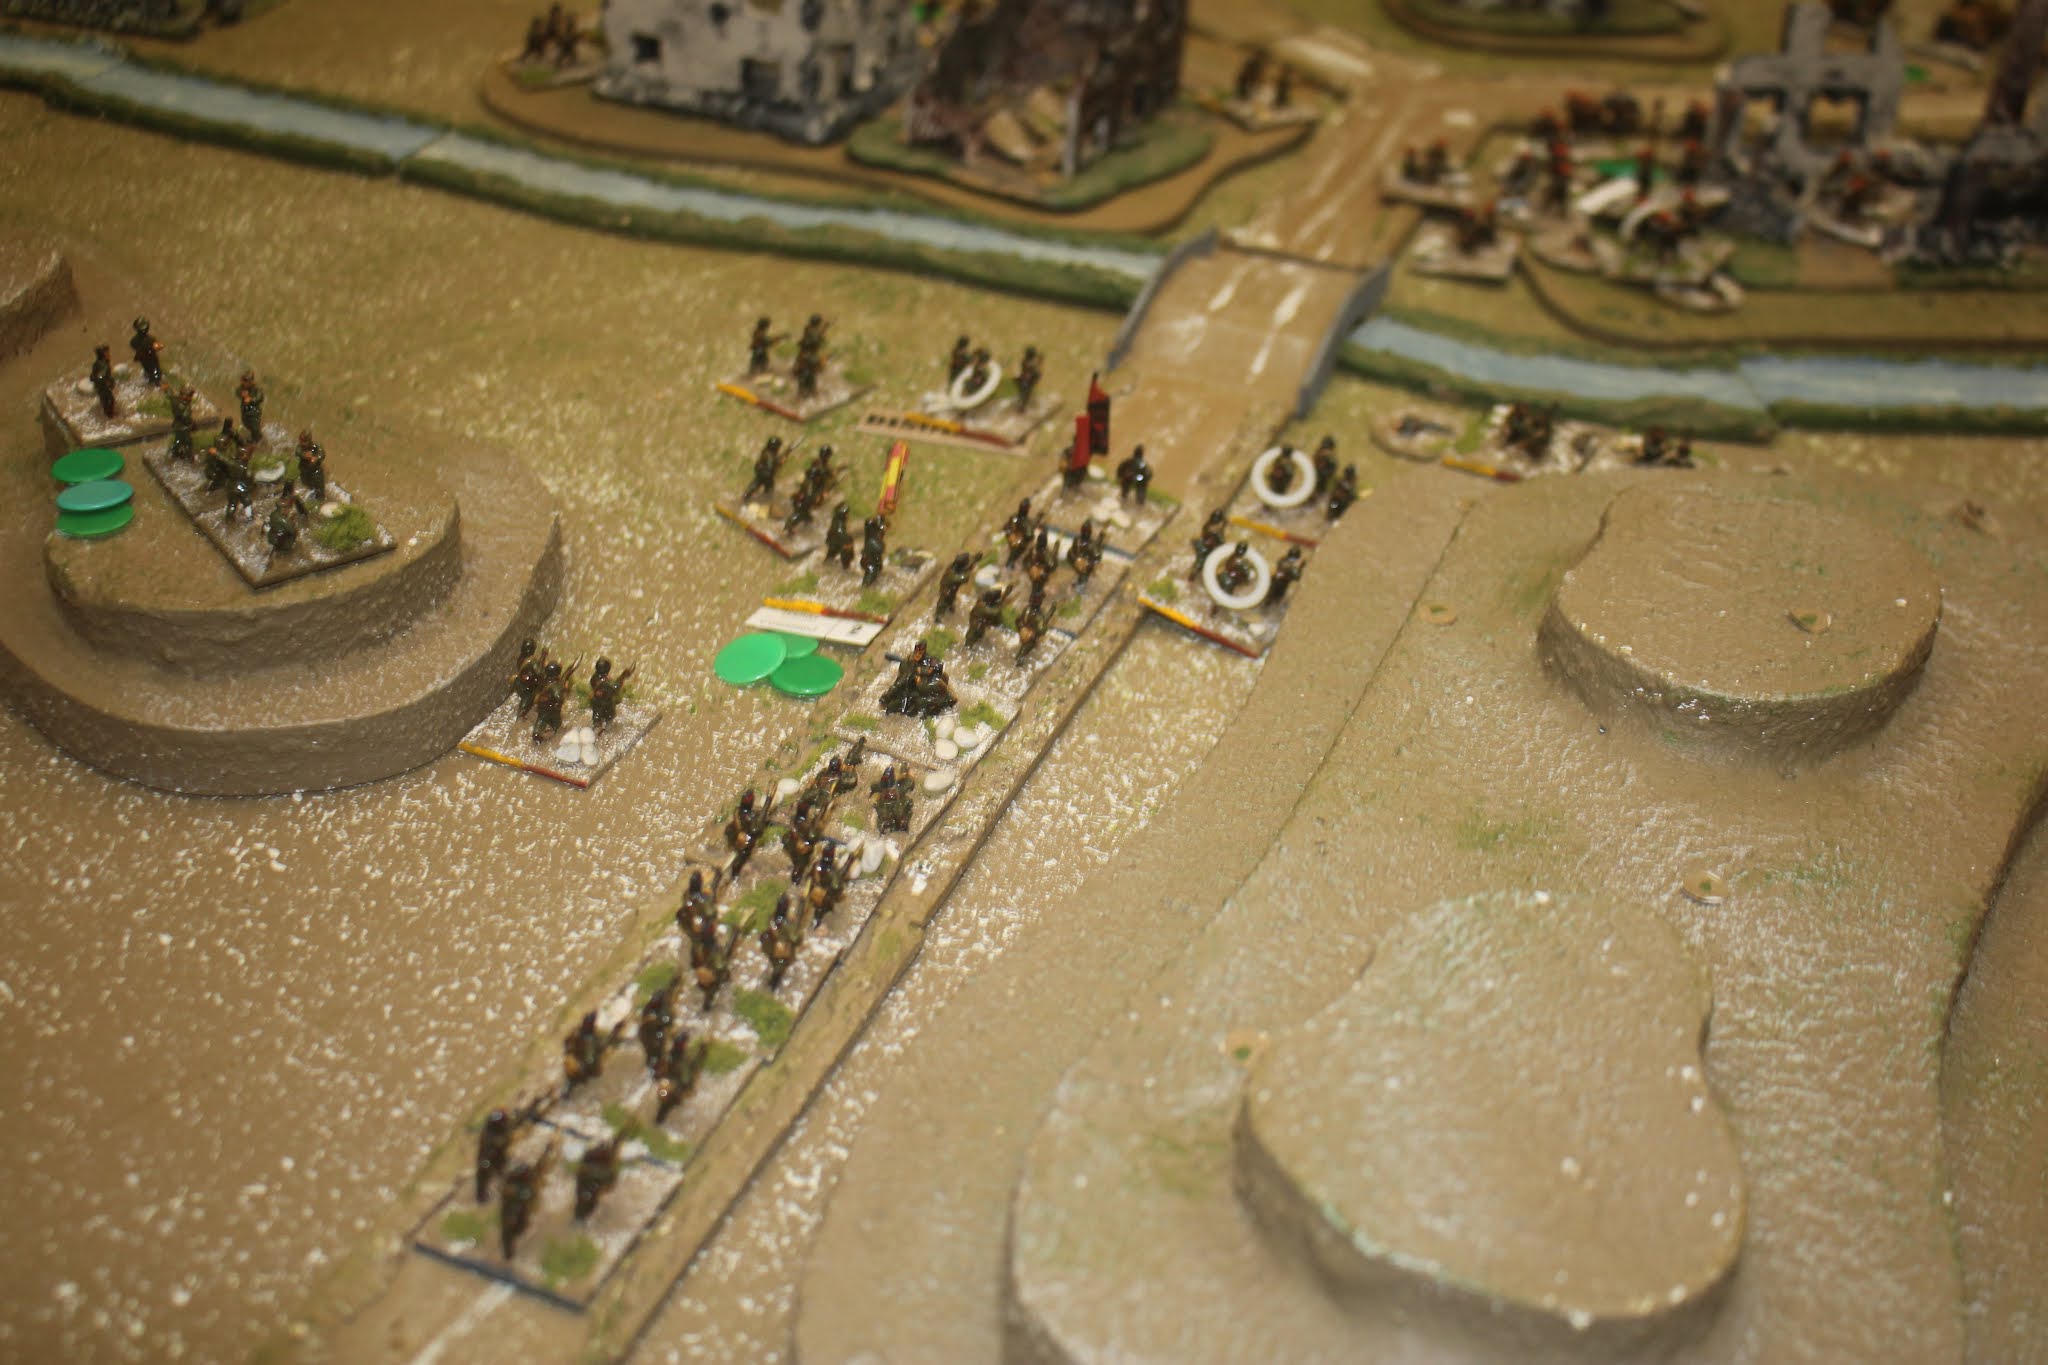
Modern weapons v units in the open
Even without HMGs or LMGs, the mid-20th century infantry section with bolt action rifles could deliver a lot of firepower. As one of my play testers, who shoots rifles in the wild, remarked "If I can see a target, I can hit it. If I can hit it, I can kill it". The key thing is to be able to see the target. Units standing around in the open are very vulnerable, second only to units moving in the open which are even more vulnerable. If you get caught moving in the open by an enemy infantry unit you will suffer very heavy casualties. This is entirely to be expected and intentional. Make sure, if you have finished moving a unit for the turn that you have declared it has halted.
Close Assaults
Close Assaults can be bloody and decisive, and are fairly easy to order. If you win, then they're great. If you try it against units that have occupied buildings properly expect it to be tough, even if you think you have over whelming odds.
Artillery
Franco was more of an artillery general than people think, and often the difference in the amount of artillery available to either side was the key determinant of victory. Artillery in FWTDR does not cause a lot of casualties, usually, but it does pin units into position and prevent them firing. It denies tactical movement and the ability to re-organise badly disrupted troops. This is really important. Working out how this will work for you will be a major factor in whether you win or not. This includes heavy mortars.
Armour
Armour is a blessing and a curse. If you can co-ordinate its actions with infantry units then it can help drive victory. On its own it will find that it may make quick inroads before being overwhelmed. Be sure your armour's function doesn't end up being to produce enough smoke to cover your retreat.
Co-ordination
The rules for co-ordinating units so they move or fire simultaneously may look like they consume too many cards, but be aware that there are benefits for things such as firing that all occur at the same time (e.g. when trying to inflict a set number of hits per base on a unit). This applies to both infantry and artillery.
Re-organisation
Units can take a lot of hits quickly, but if they aren't completely overwhelmed then they can be re-organised back into fighting trim fairly quickly. Think about when you might need to do this, and plan for it. If you do not units may simply evaporate before your eyes.
Off Table Assets
It is tempting to leave your jokers until last. Don't forget, however, that they give you extra command cards too when they are played. Plus, their effects can be devastating, but they are not long term (unlike on table artillery fire), so the earlier you inflict them, the more time you have to exploit any advantage they get you.
Activations in Reserve
A corollary of the "Multiple Activations" point. If you have units near the enemy having an activation in reserve for defensive fire, or to "bug out" if it gets too hot isn't a bad idea.
"If I can see a target, I can hit it. If I can hit it, I can kill it" -- sounds familiar!
ReplyDeleteThese are a few good tips. I will have some to share as well. Your last point on "Activation in Reserve" allowed my little AC to back out of harm's way when enemy artillery was called down upon it at Guadalajara. This tactic is also very useful in prodding your opponent into attacking myopically or rashly knowing that you can safely remove your unit from danger once the enemy has committed to striking.
I shall be posting a link to this from the main FWTDR page on the blog, and update it as suggestions are made.
DeleteOur group really enjoyed "FWTDR" and our first SCW game; thanks Graham Evans! Posted a AAR on Spanish Civil Wargames, and 6mm wargaming and terrain groups.
ReplyDeleteI read your AAR. It sounded like a great game.
Delete