Jon offered us the chance to play with his Samurai, using Basic Impetus modified to play on a hex grid. Why not? So we did the 2nd Battle of Azukizaka, which took place in 1548. The English language sources for the battle aren't great, and this scenario is based upon the Command and Colors (sic) scenarios page.
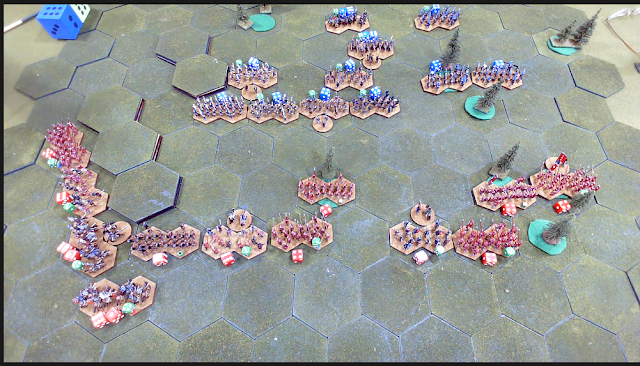
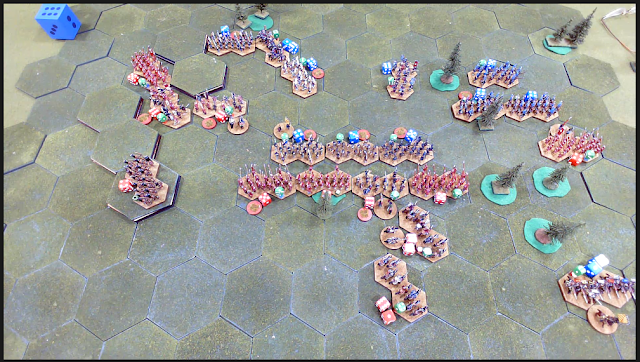
I played Oda - in blue at the top of the pictures - Steve and Richard were Imagawa in Red, the historical victor. I had a couple of advantages. I've played BI several times before and have a copy of the rules and I also read and realised the significance of the some of the briefing which the others had not. On the flip slide, my interpretation of BI didn't always agree with Jon's, and I nearly came unstuck at some key moments.
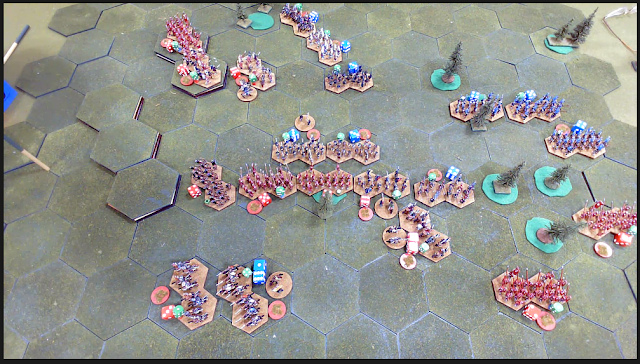
Whilst the armies look fairly even in practice the position favours Imagawa. He has first move, and a slightly stronger army with more generals. He also has a slight advantage in terms of the lay of the land, and his deployment is broadly more favourable, as he is launching an ambush. Oda has some important units sort of caught up at the back of the army.
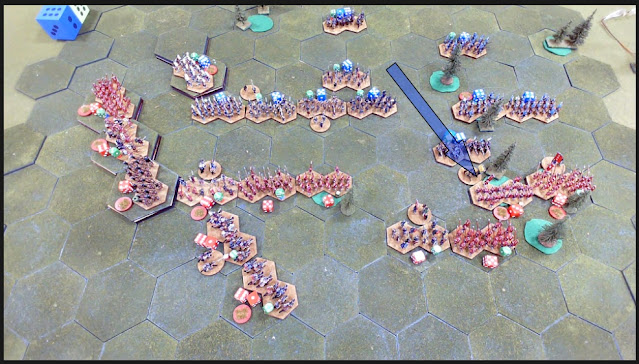
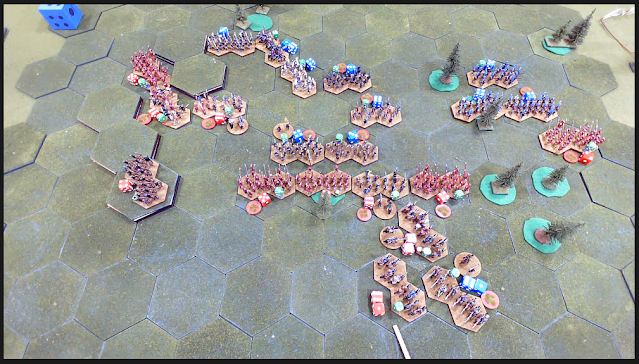
As it turned out, Steve & Richard didn't realise the strength of their position. The troops on the right are part missile armed and part spears. The missile unit did a bit of shooting and then they fiddled around with some units, contenting themselves with occupying the high ground on the left, and moving up their main line. They then re-aligned their cavalry to move across the rear of the army (see below) having found out it didn't get impetus if it charged long spears head on (i.e. most foot units).
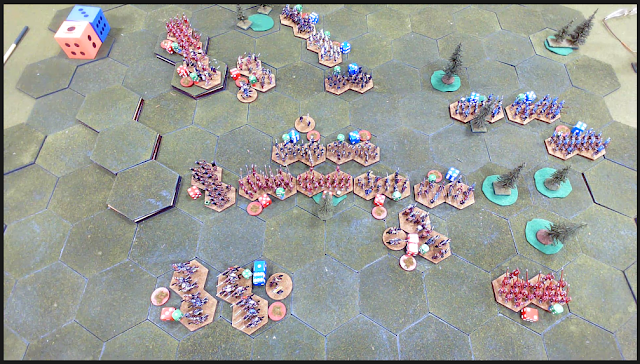
In order to win the game Jon had devised an army break point/morale system, recorded on the big dice you can see top left. This number drops when you get a push back or when units are destroyed. Commanders can halt push backs by committing Seppuku. However, the key thing is to find a way to push back units and then destroy them. The most powerful units to do this are the Samurai cavalry, which are mobile and at best are rolling 11 dice in combat. The next best roll 9, but most roll 7 or 4.
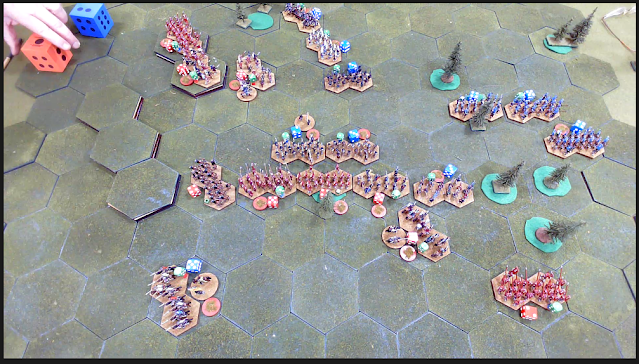
I reckoned there was one clear opportunity in the set up to break the Imagawa line with the cavalry. The Imagawans had a Teppo (arquebus) unit hiding in a wood, and even with the chance of getting off defensive fire and the positional advantages I'd still have the edge in combat. So I opened fire with my units in the woods on the right to soften them up (win!) and then launched the charge, much to everyone's surprise.
This was a spectacular success. Winning three successive rounds of combat I punched a hole in the Imagawan line and destroyed the unit without taking any damage. I think everyone was a little surprised. Even Jon, who thought you could only do two rounds of follow up.
Having broken through I then closed up in the centre to hold them in place, whilst I sorted my cavalry out. This was a bit risky, but I thought I needed to get a round of "impetus" in and inflict some damage before they overwhelmed me. I didn't do very well.
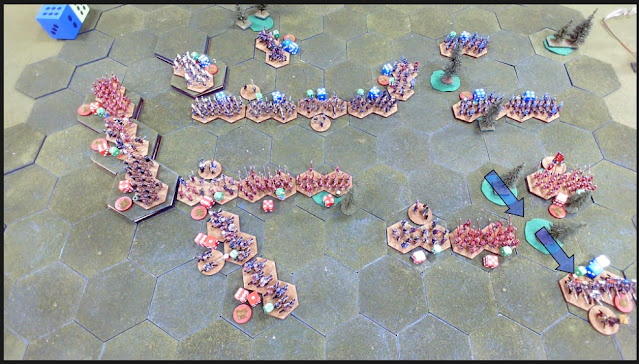
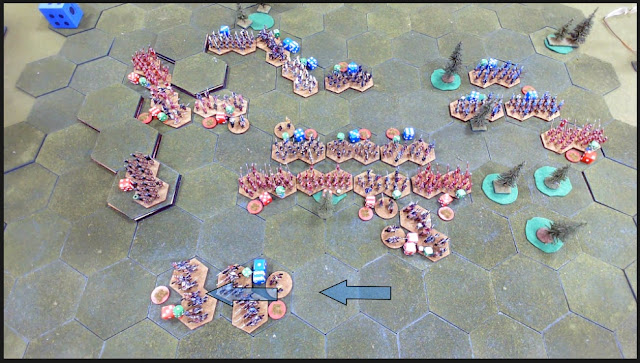
In the next turn the enemy suddenly got a bit more aggressive, and drove me back on their left. The fight in the centre also got heavy as they brought up reserves. On my right, a unit of Ashigaru spears closed with my bowmen, who stood their ground and inflicted some hits. The enemy cavalry also swung round and headed for me.
I got a bit pushed back in the centre, and avoided fighting where I could. I moved my reserve spears up to support my archers on the right (my left). As it turned out, they weren't needed. I then threw caution to the winds and charged my disordered cavalry into one of the enemy cavalry units. With a General and impetus this was a fairly solid gamble.
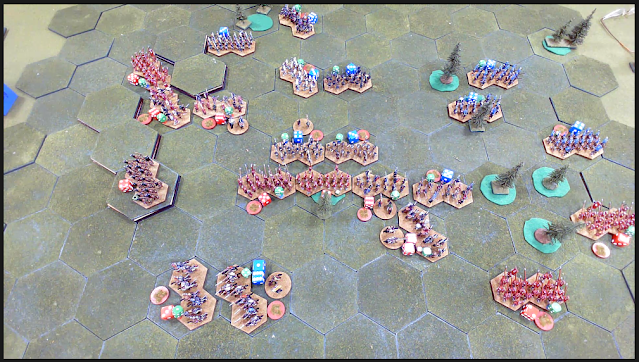
Again, a triumph! Bang, bang, bang, and they were tumbling backwards in disarray, as I moved up more reserves to shore up the centre.
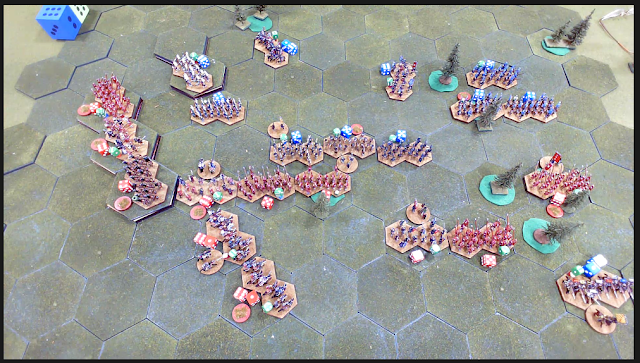
My reserves in the centre drove back the end of the Imagawa wing, but alas they retreated faster than I could chase. My archers also had a good turn, defeating the opposing spears which fell back. The Imagawan army was down to one break point. I was on three, but I was exposed in a number of places. Winning the initiative was going to be critical, which I did.
At this point I was subject to some taunting. I only need to break those cavalry at the bottom of the screen to win, but Richard suggested that if we played a full turn he'd beat me if we didn't just stop the game there. No true Samurai could accept such an afront to his honour.
First off I ordered my archers on the right to open up. A swift volley of arrows broke the spearmen in front of them. Some desperate fighting elsewhere saw me hang on before we turned to the cavalry...
Short work was made of them. I had faced down the boastfulness of my opponent and triumphed. Looking a bit bedraggled, but a win, nonetheless.
It was a tense, breathless game, and I won through partly due to my tactical genius (!) but also because of my grasp of what was possible under BI. Having said that, I got caught out a couple of times, as Jon applied rules slightly differently to my understanding, and would brook no argument on the matter. This meant I did sort of hang myself out to dry a bit.
I think that it helped that my opponents got out of the blocks slowly, and there was some indecision. That can happen with a split command fighting a single opponent. This meant I could impose myself on them. And I rolled some killer dice from time to time.
Basic Impetus once again proved itworks really well in a medieval setting, with hard charging cavalry, and it worked very well here, too. We will be revisiting these fellows in the future, and I expect a harder ride next time.
Graham, your battle account provides a riveting and exciting tale. Your cavalry charge was pure artistry. I wager this opening will not be so easy to exploit in another game. Thanks for the great write-up.
ReplyDeleteIt was an epic game. That opening gambit looks very similar to what happened in the previous game you ran, although I was more successful because I got another pursuit combat at least. I was also more successful on the extreme left, where I let the Imagawa army come at me. You were more aggressive out on the opposite flank, which looks like it won that previous game for you.
DeleteYes, my Imagawa deep left hook through and around the Oda right won the battle but still, it was a near run thing and could easily have gone the other way. My opponent in that game wants a rematch and a side swap. I am happy to oblige!
DeleteJust hope he doesn't read my blog...
DeleteHe follows your blog…
DeleteIn which case you may need another plan.
Delete