I keep worrying at the various bits of the battle of Blenheim. It's a big battle, and there's lots written about it. The trouble is that the accounts don't make entire sense when you try to put them on a wargames table. Allied to which it really does look like Marlborough and Eugene only won because the French cavalry had glanders and the French/Bavarian commanders were monumentally incompetent on the day. No wargamer is going to keep shoving infantry into Blenheim village, surely?

I started the game set up with the British in the Nebel, just about to exit. The French were set well back.


Having given Ian an overlap to trouble Chris and even up the numbers a bit, he duly turned his men in to enable a frontal charge. He was also worried about being outnumbered, so he galloped off to talk to the CinC to get the reserve infantry released to his command.


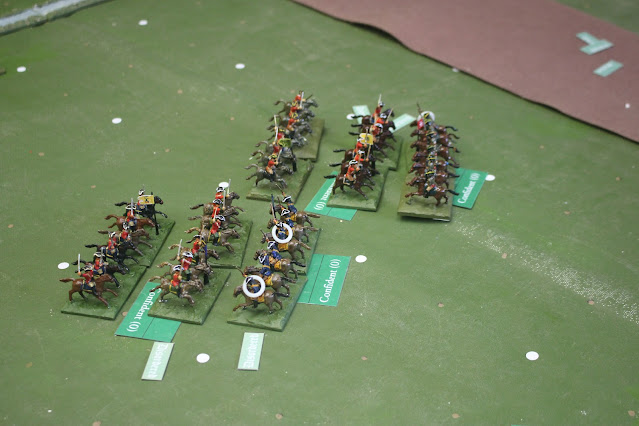


Tim goes all in with his cavalry, charging both Chris' horse, and Richard's foot. Ian sends a fresh unit of horse into Chris' horse who were rallying.


Ian's brave boys pile in and rough up one of Chris' cavalry units.

Richard advanced to the village, and opened fire. He decided not to follow up and close with the defenders, who then counter attacked. The right hand unit refused to charge, but the others stormed out, bundling Richard's men backwards.

Tim charges the other German foot, whose defensive fire once more fails to do the trick. As before they lose the melee etc, etc,

Ian routs the cavalry he was fighting in the centre, but their supports hold firm. Ian collides into them during the pursuit.


Chris has rallied back most of his cavalry behind Phil's infantry, and also managed to rally some of his routing units too. His one unit out front has broken their opponents. Then we had to stop.

Chris immediately pushed his cavalry ahead of his screening infantry, which were commanded by Phil. He succeeded in masking the artillery which was being brought up as well.


The command conference lasted a couple of turns. Ian didn't get any luck (he needed to out dice the CinC to convince him, and failed to do so).

The Allies continue their full line press. Chris has brought all of his cavalry through the infantry to set up a confrontation with the French.

Ian charges in, despite being faced by enemy with supports. He takes a bit of a beating.

Chris rallies back one of his victorious units to enable them to reform.


Ian's charge breaks Chris' first rank, but his supports hold.

Richard's infantry fail with their defensive fire, lose the subsequent melee, fail their morale test, break and flee. Their brigadier gets killed in the process.
[Slight photo gap here. Richard shoots into the rear of the melee, and Disorders the support troops.]

Tim pursues the infantry into the stream, trampling the corpse of the brigadier.

Phil brings his artillery into play, and then Chris charges home, breaking the lead French cavalry..


The second line of German foot is a bit more robust, and Tim's breakthrough charge is halted.

Phew! It was all a bit pell-mell and breathless, with loads going on and me losing track of a lot of it. Bags of action and the occasional wild outcome kept the whole thing moving along. As ever, I picked up some useful bits and pieces for the purposes of rules development, so an evening well spent.
Looks like fun, and well worth the effort.
ReplyDeleteIt was fun, and passed the time pleasantly enough. I have some issues with controlling players whilst developing rules ideas at the same time. I don't seem to have as much time to myself between games these days to sort things out.
DeleteGood game! I watch with great interest your games in the War of the Spanish Succession. Very spectacular and beautiful!
ReplyDeleteThanks! My painting isn't up to your standard, I'm afraid, so I go for spectacle.
DeleteBlenheim is an interesting battle and a good play test of any WSS rules. It looks like that all went very well. I think you have to model the stream as an area obstacle (in the square, as you have done) rather than a linear one.
ReplyDeleteThis, of course, is only a small part of the total battle. I need to bolt the last three playtests together to see if it all works. The "stream" as an area obstacle has always been at the fore front of my thinking on terrain.
Delete