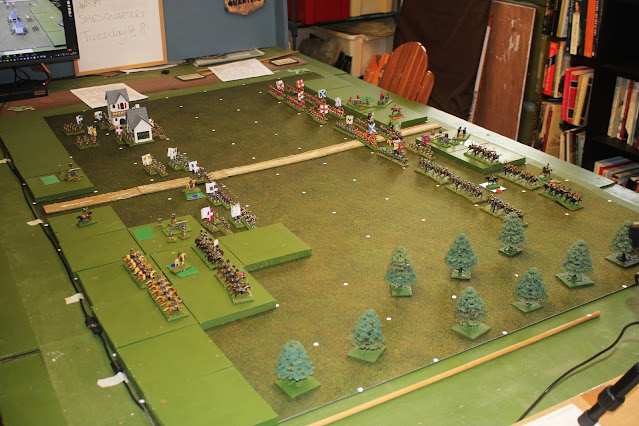
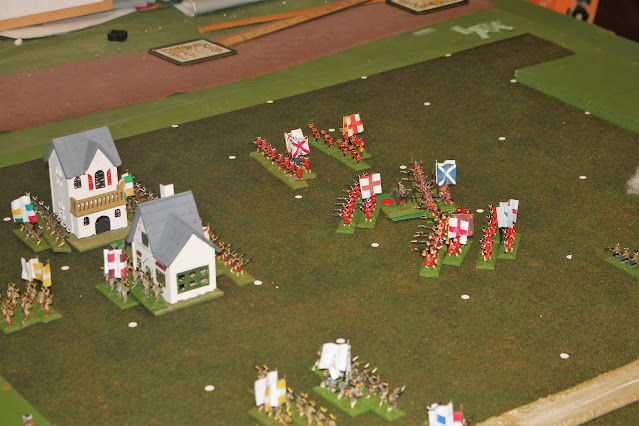
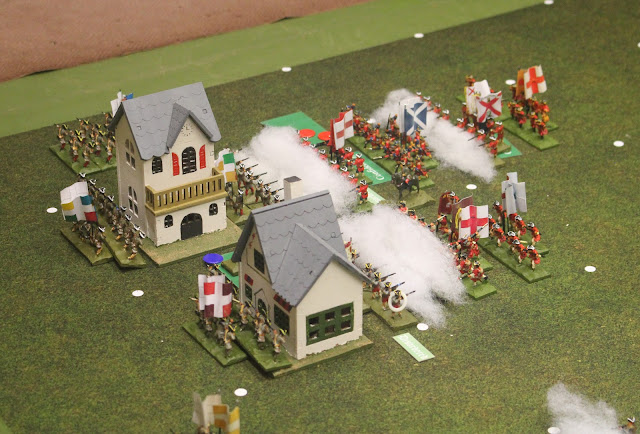
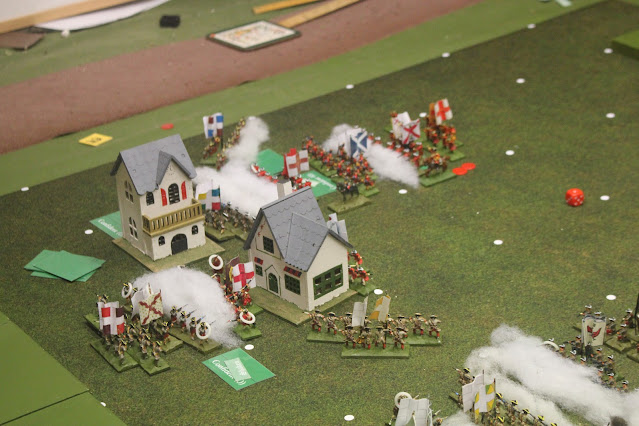
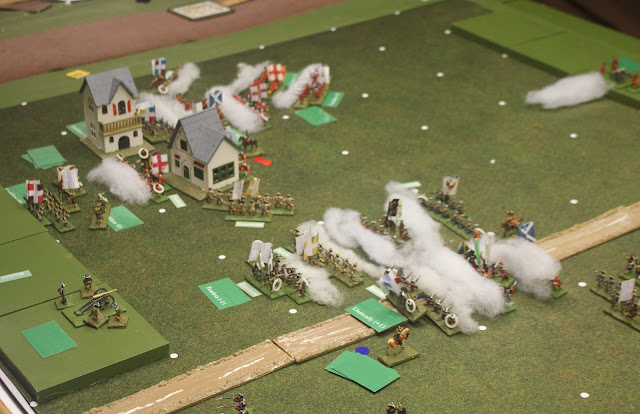
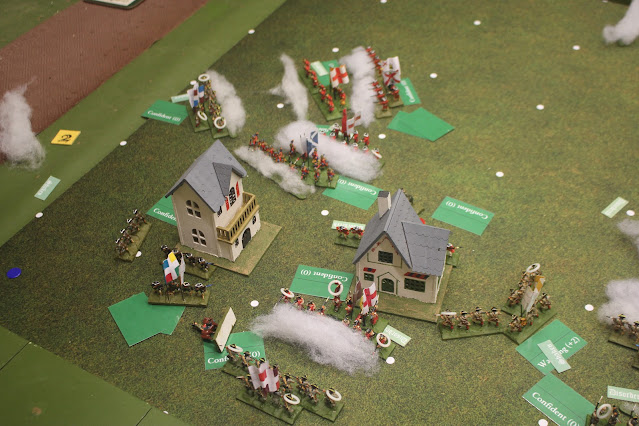
This week I was able to run another WSS play test after a brief hiatus. One of the features of battles in this period is the presence of small villages or groups of buildings that are occupied and act as strongpoints. And normally set on fire by the French. Consequently that's something I need to try out.
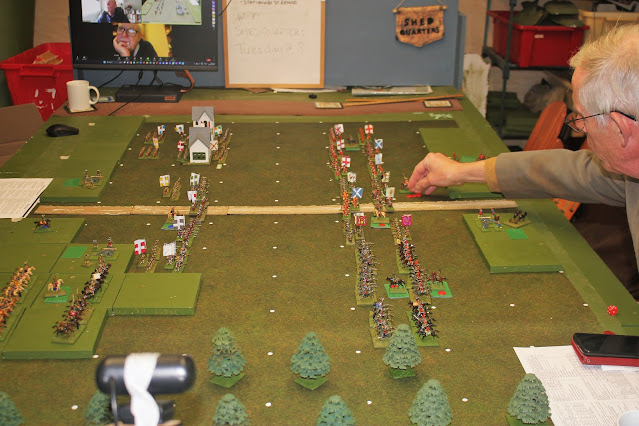
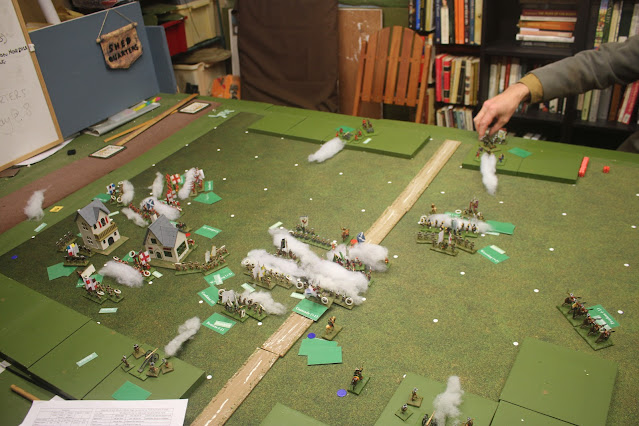
So I had Tim and Chris K join me in SHQ, and after a bit of a gap, Ian and Jon were online. We were mercifully spared any internet problems, but it looks like the power socket or cable on my PC has got damaged somehow, so I had some issues on the set up. How annoying. May need to find a local repair guy.
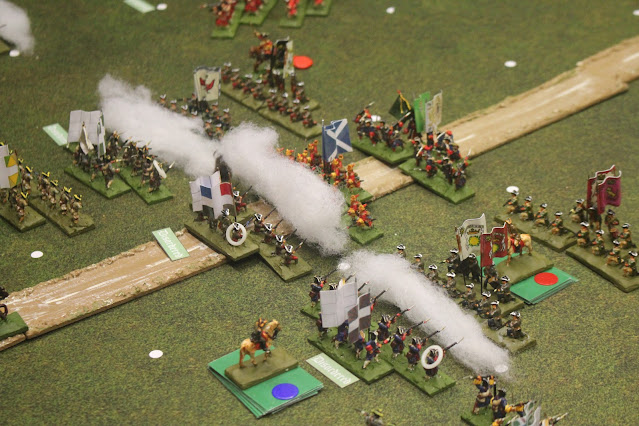
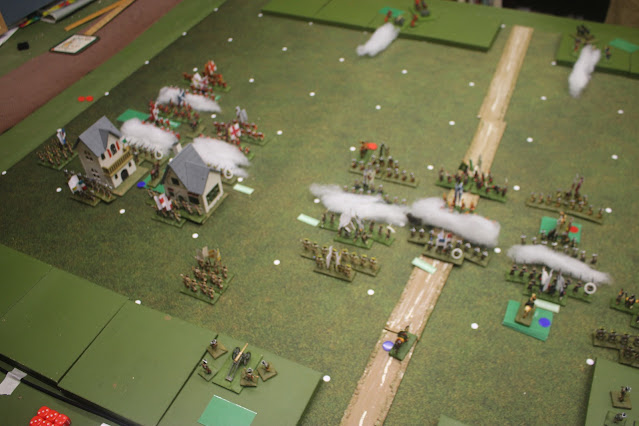
Jon had the British regiments, tasked with sorting out the village. He seems to have a cunning plan in place, angling his infantry across like that. Not sure why. I find out later. It certainly did seem cunning when he revealed what he intended.
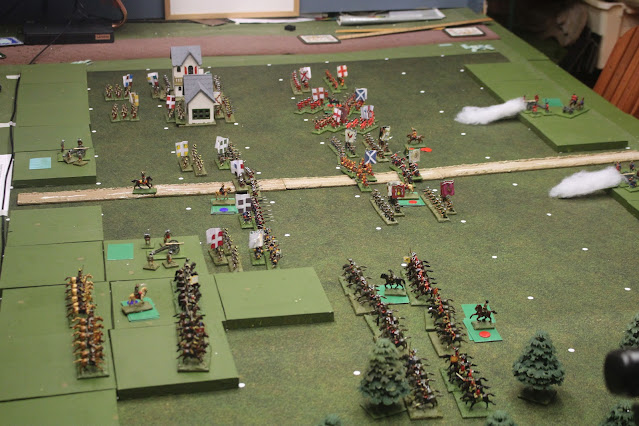
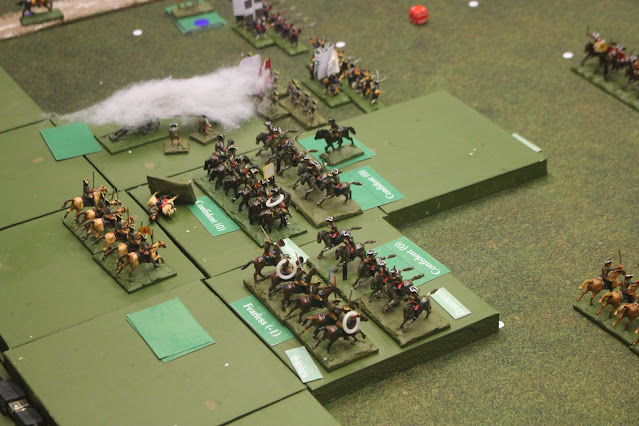
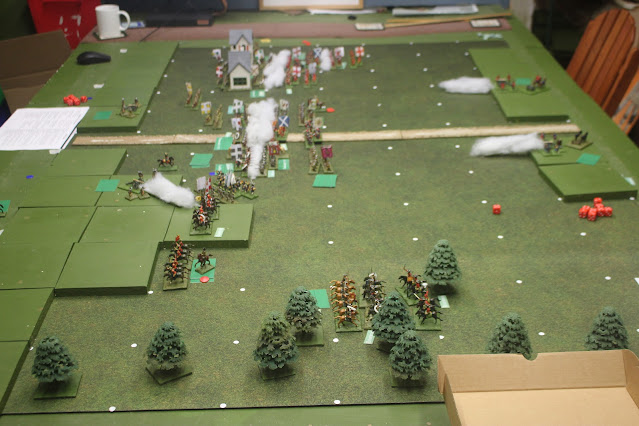
Chris pushes up his cavalry brigades. He has two, one behind the other. I set them up like that to see what would happen.
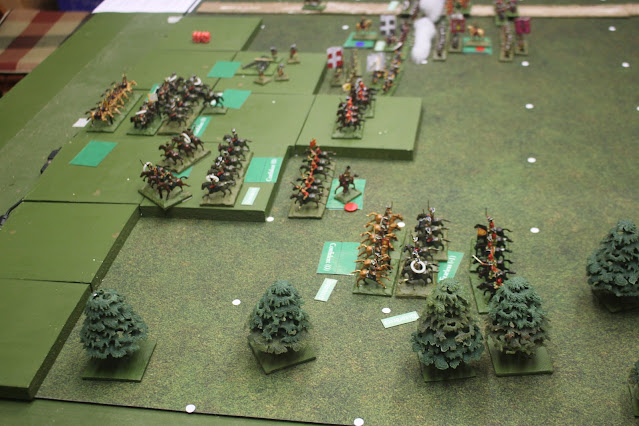
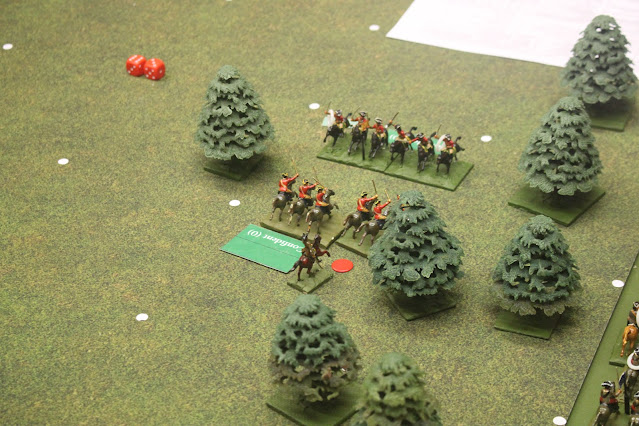
Loads of cavalry action. Ian and Tim have got one of their reserve cavalry units out wide to stop Chris outflanking them. That melee goes the way of the French. Next up, Chris's Dutch have broken one of their opponents. Above them, the French are being pushed back on to the base line.
Even without the support of the reserve cavalry, Chris's Dutch brigade finish driving most of the French off the battlefield.
Blink and you miss it. The French surviving cavalry break their Dutch opponents, only to be caught in the rear by a fresh British regiment.
The result is that most of the defenders are broken. The French left flank has collapsed.
This game had some command figures who were better than others, so could use more than one command action a turn. This proved to be helpful to the Anglo-Dutch. The French, notably Tim, had a dreadful run of luck, and should have done better with their cavalry. The village fight was messy. I'm not sure that Ian knew what he wanted to do, and his last ditch charge out of the defences didn't really work for him. To be fair, it was the last turn, and he was looking for an end of game spectacular.
I need to think further on how to make the village fight work, and there were some other useful comments and discussion about various aspects of the rule system. Since I confidently stated that "This. Will. Happen." seven weeks ago, writing up the rules and figuring out the fine detail has not gone as quickly as expected. Several other things have emerged as a thief of time, but with those mostly out of the way, I'll hopefully get back to them shortly.



A right hard fought battle, plenty of action and it looked great fun, can't ask for too much more from a game than that. Very good battle report, I enjoyed reading and poring over the pictures, good post!!
ReplyDeleteThanks. I pore over the pictures too, to try and work out what on earth happened. I think the sticks of smoke really improve the look of it.
DeleteA good game to see. I look forward to more!
ReplyDeleteIt does look nice. It's the flags, isn't it?
DeleteIt looks very grand indeed, red coats, flags and proper Bellona trees. With melee, do you resolve combat between adjacent squares or is it resolved 'in square'. If the former, can the winner occupy the losers square afterwards? We've got a bit tied up in knots with a square based ECW set and I wondered what you did here.
ReplyDeleteThe way I play it is that the attacking unit has to be able to move into the square, so theoretically the combat takes place in the square, although I don't usually push them in together. If the defenders are driven off and the attackers don't pursue, then they end up in the defender's square.
Delete