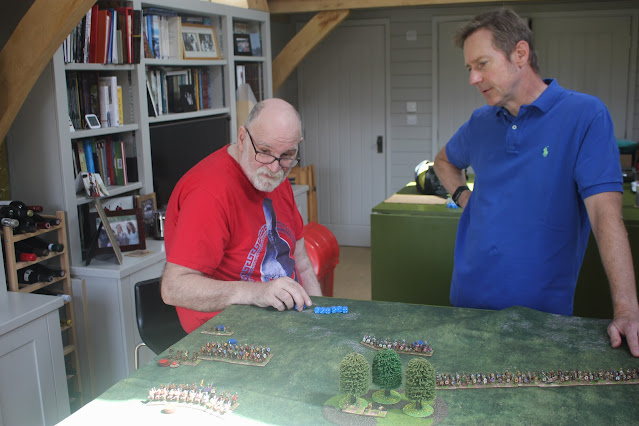
It's that time again for a trip to West Country Richard's for some premium level gaming.
Then rolled a double six for movement (=bad) so were unable to see their plan through.
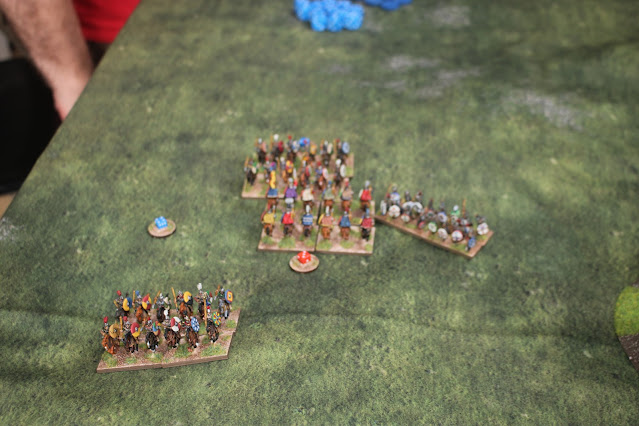
Unable to extract our light horse, we doubled down with the rest of the cavalry on this flank. And stacked up the LPs.
And then some of their infantry turned up as well, and our light cavalry got killed and it was all looking horrible and it was good we bought those extra LPs.
Then in the centre these warrior types stormed out of the wood and killed one of our skirmisher groups. That's an LP down the drain, because you lose one when you lose a unit.
And they then pushed back the end of our line as well. All going very badly. However, there were some problems with some of their units charging in the centre. We needed to hold here, as in the distance you can see some cavalry poised to sweep in on their flank, if only we could pass the bravery roll.
A couple of moves later and in they come. We've also been able to do some clever stuff to get some 2:1 match ups whilst cutting their retreat path, which increases damage if we win the combats.
Ha-ha! We catch those pesky warriors in the flank with our last surviving skirmishers. That'll show 'em.
My, there's stuff going all over the place.
And then another couple go. We're up by 1 unit lost to 3, and we're ahead on LPs.
And we break one of their cavalry units at last. Well ahead now.
And then it's all over. Another unit of warrior gone and we've got a win, 5:1. Okay, so most of our units are down to 1 Cohesion point left, but they're still on the table.
Phew! Finally won a game of Dux Bellorum. And it was all down to having more LPs and er...playing the LP placement rules right this time round. The day before's late night revision of the rules paid off. Oh, and Chris' grasp of tactics. That helped too.
Next up we had another go with my Jacobite rules. For this game I did Killiecrankie. The terrain is minimalist. Phil & Chris with the Jacobites should be up a hill, but at the end of the day it didn't make much difference to the final fighting, so I didn't bother to take the hill blocks with me. The squares are marked with black sticky dots. It worked, but they did keep coming off, partly because I put them on the game mat then rolled it up for transport.
Having the Jacobites Disordered as they came in helped the Redcoats pass the Intimidation test (see green marker). This meant they delivered a devastating volley and then rolled better dice in the melee.
So the Jacobites failed their morale tests and fled back up the hillside.
Similar pattern with the next Jacobite unit along, who didn't rout but were bounced. As you can see, however, Colonel Loudon had been killed in the melee.
And then the third Jacobite unit also struggled to make an impact, although they did reduce the defending line to "Shaken".
Truly, as the saying goes, it was a game of two halves.
Richard and I counter attacked on the left hand end of the line, driving the clansmen back (perhaps I should have given them a bonus for being up hill?). On the extreme right, Hasting's regiment which was untouched, wheeled in and enfiladed the clan line.
Hasting's regiment then closed with pike and clubbed musket, urged on by General Mackay.
In the centre, the miniscule cavalry components of each army were playing their own little game.
First run out with the pikes for a while, and work needs to be done there, and an adjustment was identified for "small" units when taking morale tests.
Then that was it for the day. It just remained for us to pack up and go and have some dinner at the rather nice pub two doors down from where Richard lives.


Comments
Post a Comment