The decisive battle of the '15 rising was fought outside Dunblane, on Sheriffmuir. The Jacobite Army, under the Earl of Mar ("Bobbing John") faced off in the middle of November with Government forces under the Duke of Argyll. Argyll's army was outnumbered at least 2:1. It did include a number of Marlborough's veterans, including Mrs Christian "Kit" Davies (aka Mother Ross) with Podmore's Dragoons, but the infantry was probably not up to the standard of the veteran units at the end of the WSS. The cavalry was in a much better state, especially when compared to their performance in the '45. Mar's forces had been drilling in Perth for a month or two so weren't complete amateurs and were well motivated. Well, the lowlanders did the drill. I don't know for sure about the Highland regiments, who probably thought themselves better than that sort of thing.
This time round I didn't bother to model any of the slopes as their main effect was to prevent the wings of each army seeing what was going on at the other end of the battle, and I could sort of handle that in game if I needed to.
It was just me and Tim for this game, and I gave Tim the Government forces. As the usual Jacobite player he was a bit non-plussed having to think about things other than just charging straight at the enemy.
Another round of charge/counter charge on the right saw the leader of Clan MacKenzie fall in the melee, but the cavalry were otherwise coming off worse.
In the centre musketry is certainly gaining the upper hand.
So that was it. The Jacobites did a bit better than historically, mainly due to a failure of cavalry. The outcome was quite close to the original, with Mar and Argyll both leading their wings to victory, so once more both sides ran away as well.
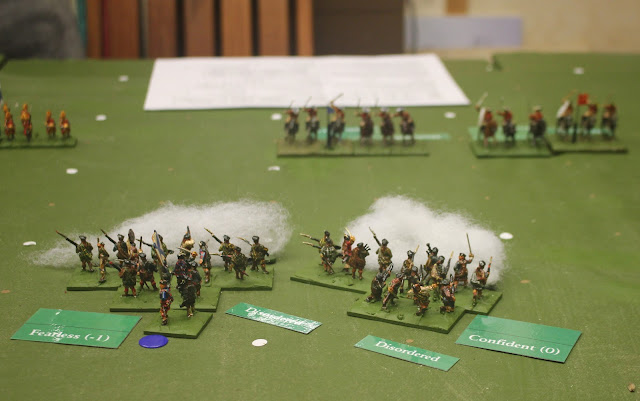
The game opened up with the Highland right/Government left charging each other.
Despite the cavalry being of good quality, the Kilties saw them off. Much to my surprise.
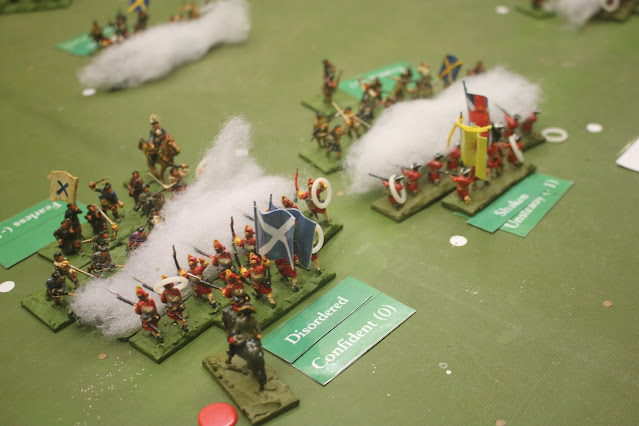
It was a mixed bag on the other flank. Argyll charged in with his cavalry. The lowland foot drove off one unit with a combination of musketry and bayonet, whilst Argyll personally led a charge that punched a hole in the Jacobite line.
Tim tried to pre-empt the Jacobite onslaught by closing and delivering massed platoon fire. This was fairly effective.
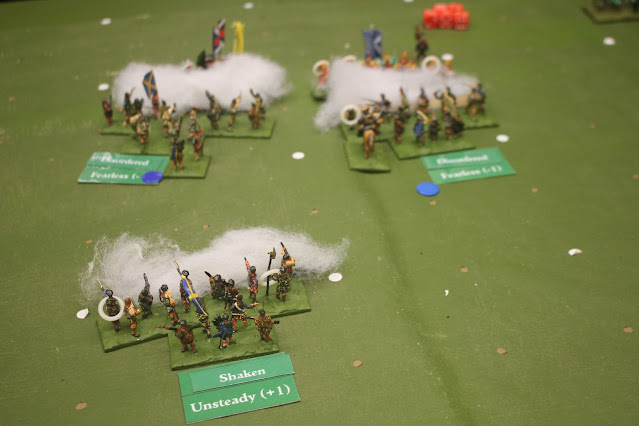
In the centre a 2 on 1 Highlander charge was partially repelled by effective musketry and solid discipline, but the Redcoats were still forced to give ground.
With Bobbing John in the thick of it the Government left wing was tumbling backwards.
In the centre the kilted menace was halted in its tracks by the thin red line.
On the Jacobite left I chose to ignore Argyll's breakthrough and closed with my infantry in an attempt to get my retaliation in first. The lowlander musketry wasn't tremendously effective.
On the whole, however, it looked like I'd got Tim on the back foot. In terms of the scenario I was concerned about the prevalence of Jacobite cavalry. Too much on the table, and checking the rules, too likely to be too effective. I voluntarily held it back.
The infantry on the Government left continue to cling on whilst being driven backwards.
The opposite is happening in the centre, as the Highlanders struggle to get to grips with the Redcoats.
Argyll is now well into my rear area.
My right is gaining the upper hand, but it is taking forever.
And then sustained platoon fire, followed by an Advance to Contact breaks the end of the lowlander line.
I extract revenge by killing one of Tim's brigadiers.
In the right centre, however, the Clansmen breakthrough.
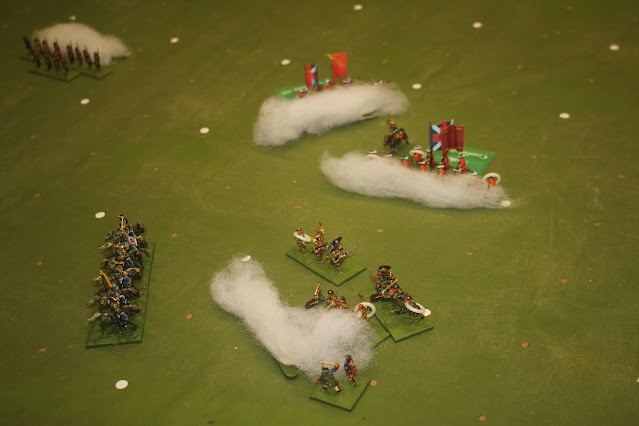
Tim's left is collapsing badly now.
My left is all over the place. I've got lowland foot streaming to the rear, and Argyll is rampaging behind the army, but one of my foot regiments is performing surprisingly well.
Tim is proving effective at breaking up my attacks in the centre of the table, even if he is a little bit surrounded.
I spot that one of his infantry units is looking a bit worse for wear, and send in one of my reserve cavalry units. The Redcoats turn and flee.
Argyll, however, was still on the rampage.
I have to do a small amount of work on the scenario, and get the specific rules sorted. The army sizes and deployments, with the exception of the Jacobite horse, worked pretty well.
I really need to get on with writing this all up properly.
Comments


Excellent! Battles are tricky to re-fight when the historical result was so peculiar, doubly so when the survival (or not) of key leaders is pivotal to the outcome. I look forward to the finished scenario.
ReplyDeleteYes. What makes this period even worse is the virtual coin toss outcome for Highland attacks.
DeleteThat was an enjoyable read, cracking looking game and an interesting one as well. I will be interested in seeing your finished scenario to see how the tweaks wor out.
ReplyDeleteGlad you enjoyed it. I'll probably run it again next week. Then it is going in the up coming rule book as one of the historical scenarios.
Delete