Near enough to the anniversary, so Phil put out his Naseby toys. Phil has a 15mm collection based around Naseby, and a sculpted battlefield model. Alas the model is in storage - probably - so he set it up on an open table instead.
He turned this to an advantage. Or at least tried to. Most of us know Naseby from the Streeter perspective map, which is drawn from behind the Parliamentarian lines (it is the basis for Phil's model). Less well known is the De Gomme plan, drawn by King Charles' engineer. It shows how the Royalists intended to deploy, based on instructions given by Prince Rupert. It also opens up the battlefield on the Royalist left, which is truncated in Streeter due to the perspective view.

I can't find the De Gomme plan online, but you can see a postcard of it at the bottom of the picture. The postcards used to be sold by The Naseby Project. They may still be.
In a change to my usual position in these games Phil asked me to play the Royalists. I shared this role with Tim, facing Chris and Steve as Parliament.
Now the thing is that Naseby is a battle determined to a large extent by the choice of terrain. Cromwell and Fairfax refused to attack the King's Army is its initial position at Great Oxenden, but chose instead to give battle just outside Naseby village. The chosen position, on Closter Hill, appears not to be so strong as to put off an attack. It has a number of advantages that aren't obvious. Firstly, the Parliamentarian second line of infantry is in a dip, and isn't visible from the Royalist position. Secondly, the left flank - facing where Rupert would be - could be secured to stop the whole position being turned. That's why the baggage camp is where it is and the same for Fleetwood's cavalry, which forms a flank guard.
None of this is obvious on a flat table, and Steve, not knowing the battle (and Chris to a certain extent as well) moved forwards off this position, and opened up the centre to being enveloped.

We were happy to advance as well. Phil had set the armies up slightly too far apart, so we'd have taken a while longer to get to grips if this hadn't happened. However, that's exactly what the New Model needs, so it can win the cavalry battle of the Royalist left before the infantry fight is resolved.
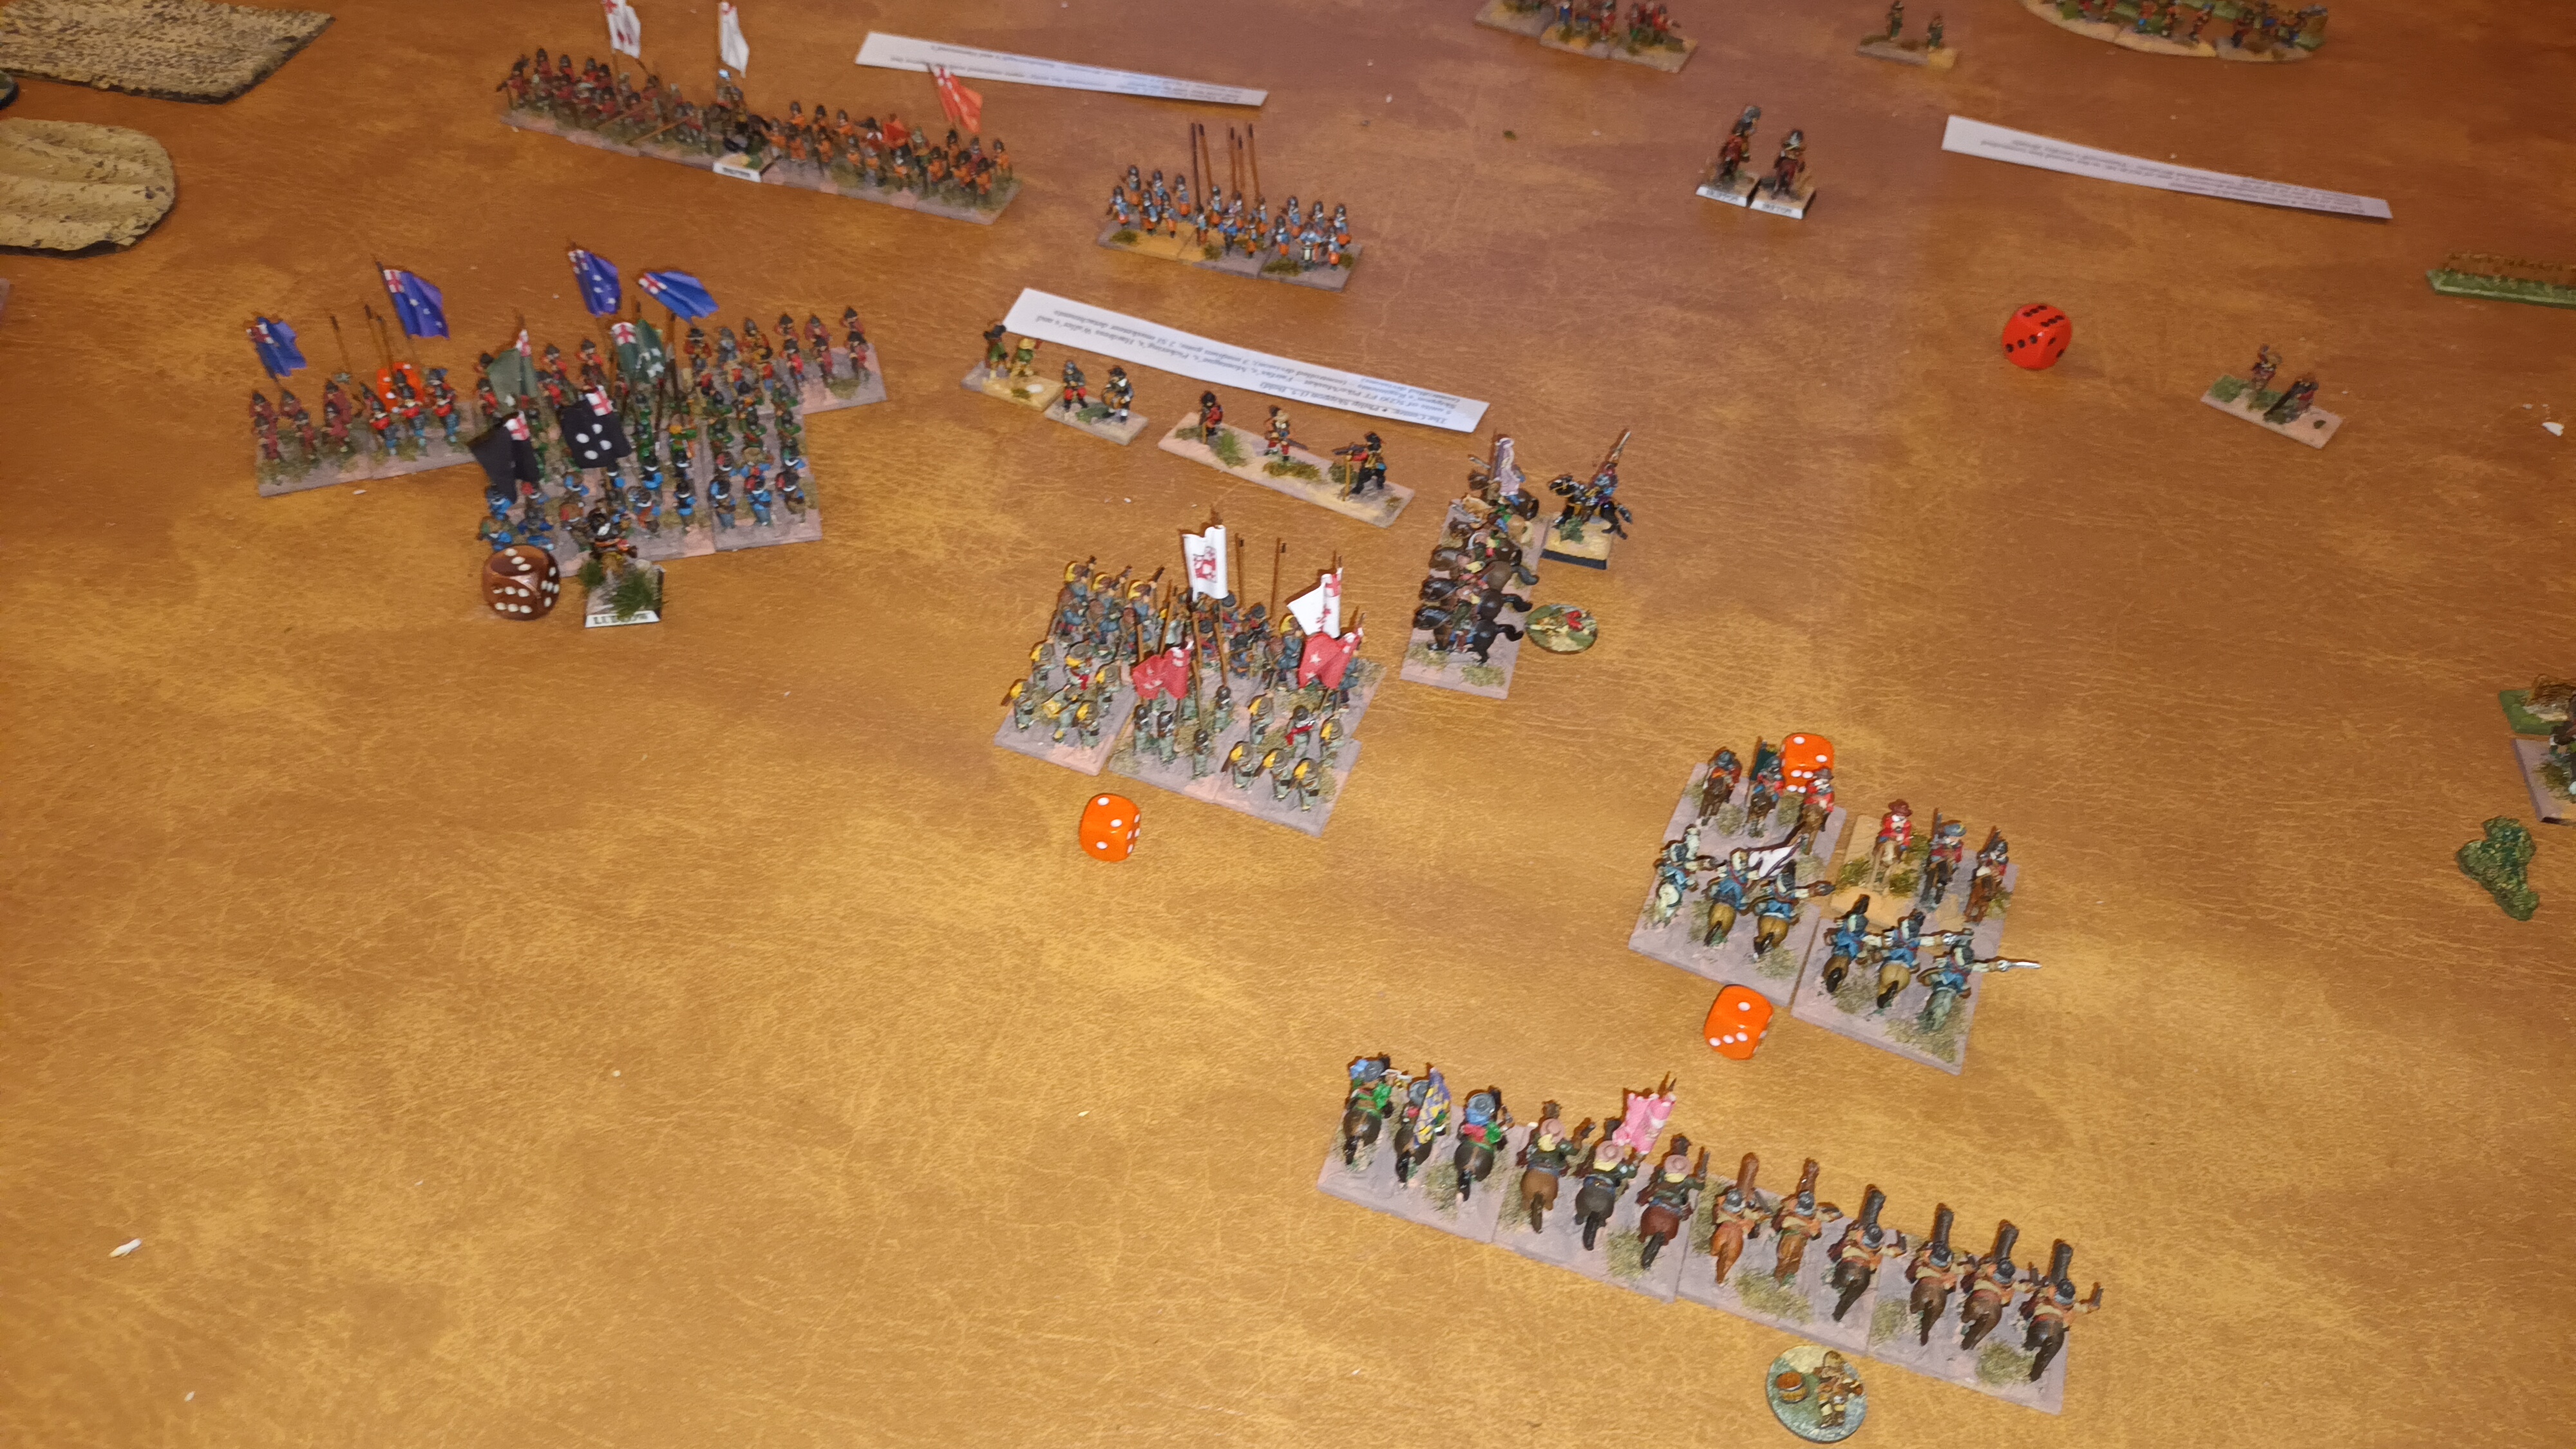
For us, Tim charged off on the right with Prince Maurice, dropping off his commanded shot to deal with Okey behind the hedge.
(BTW we were playing Armati, with Phil's amendments more or less. And we weren't even playing closely to them).

The centres meanwhile plod towards each other.

Almost in musket range.

On our left General Cromwell charges home across the rabbit warren. As I've played Armati more recently that Chris (probably) and also remember more of the rules than he does, I got my reserve line out and in to a position to hit the flank of one of the Ironsides. The d6 is indicating unit Break Points. Three to break cavalry, four to break infantry.

Shots are exchanged, as the Royalist foot closes.

The combat on the right continues. Phil has a modification to the rules that enables better quality Heavy Cavalry to break opponents who counter charge if they don't have a leader of a certain type (leader types is also a change). This was overlooked for the game, so we had cavalry melees that bogged down.

Except on our left, where my genius dice rolling broke an Ironsides unit. Take that Nol Cromwell! God is on the side of his anointed king this day, not some backwoods farmer with ideas above his station.

Tim finally breaks one of Steve's cavalry units, but there isn't a big enough gap to get his reserve line through.

The Push of Pike commences. In a few rounds of combat I lose my left flank battalia, as it is flanked by one of Steve's reserve line.

However Prince Maurice turns in on the flank of the Parliamentarian foot, signalling their doom (they should have stayed on the ridge where this wouldn't have been possible).
You can see on the left that I've caught the unit that broke my infantry in the flank, so they're done for.
Which meant we'd broken the Parliamentarian army by a large margin over the army Break Point. The rebellion has been crushed, and we can do a deal with the Presbyterians, which will eventually end up with them all being executed as traitors despite what is promised. A king does not need to stay true to his word to traitors!
It was interesting to play this on a wider front, but we probably should have had a few warm up games to get back in the swing of it, and learn Phil's rule changes. We played fast and loose with the movement distances most of the time, and too much DBA meant that most players where wheeling unts all over the place and lining them up, which is most un-Armati. And Phil really needed to get Chris and Steve to grasp what the Cromwell/Fairfax plan was. I'm not sure we could have dismantled their army so effectively if the hadn't obliged by walking into the pocket we'd set up, rather than the other way round.
Interesting, and nice pictures!
ReplyDeleteThanks. I had to soak the pictures with flash to cover the sunshine streaming through the windows during our recent heatwave. Phil's blog that I posted links to has some interesting musings on Naseby and why it ended up like it did.
Delete