This Tuesday's game for the Monday Night team was a return to the Sumerians and AMW. Since we last played I thought that the game would be improved by moving onto a square based system. This simplifies movement and so enables more complexity elsewhere. I wanted to do something with the Battle Cart turning circles and also incorporate post-melee push backs unless units are supported.
We had a good turnout, with Phil & Will taking on Ian. Ian, after all, is the "biblical" period expert so should be able to cope on his own.
For this game the armies have been considerably "up-gunned" and now consist of 16 units aside. There are another 4 infantry units on the sidelines in various states of preparedness, then that'll be it. I've added heavy infantry and more skirmishers (including the bow conversions shown before) and also settled on three figures on a 60mm x 30mm base for my massed archer units. That's a compromise between the needs of different rule sets and also an attempt to maximise the number of units I can get out of the boxes(with four to a base I get 2 unis. With 3 to a base and added officer figures I get three units.
The table was flat with one side closed off by a mostly decorative irrigation canal.

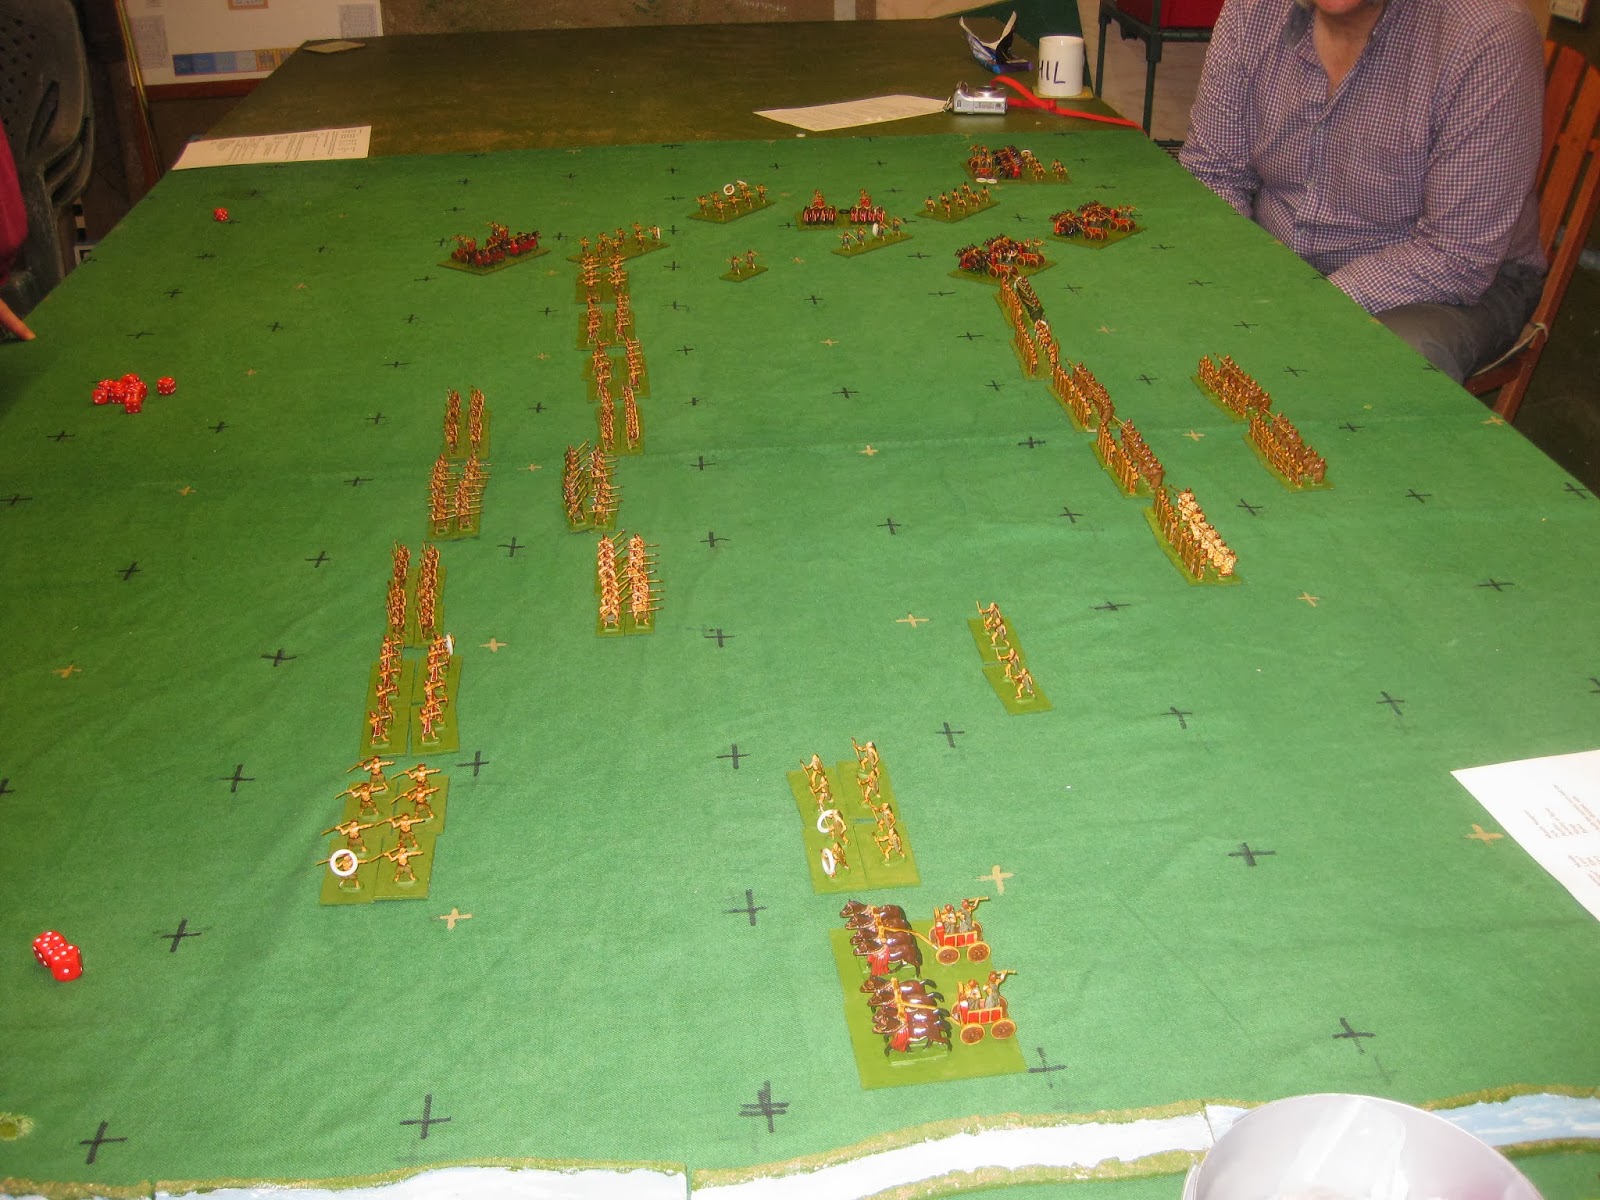
The army to the left has a higher proportion of archers, whilst the army to the left has more shielded infantry. Will & Phil have the army to the right.
The game started with a general advance by both sides, although Phil was concerned by his right flank where Ian had an advantage in the number of chariots/battle carts.

This advantage on his left meant that Ian was vulnerable on his right, where Will had a chariot unit that made quick ground and looked like it would turn the flank.

Will got this chariot into a position where it could javelin one of Ian's heavy archer units. The other two are at the other end of the battle line, and by this point have pushed forwards too far, so Phil's infantry have been able to close the gap and get into close combat. He also cleverly drew off some of the shooting with his light troops. The light troop/chariot maelstrom at the top of the picture probably defies description. Suffice it to say that Ian is making a complete hash of destroying a unit of slingers. Having failed to follow up and wipe them out when the opportunity occurred he end up getting himself isolated and surrounded. One of the lessons learned here was that light infantry working together are a good way of messing up chariots.
In the middle the infantry lines clashed. I think they look mighty fine.

The units in the squares in the second row are providing support and preventing pushbacks. Pushbacks are calculated after morale checks when the side with total losses (including morale losses) is pushed back a square. If their opponents follow up they get +1 die per base the following round. I should also point out here that heavy units fight across a square's boundary edge. To fight a light unit you have to move into its square. That gives light units a chance to throw javelins and evade heavy infantry should they wish to.
Ian's weak link turned out to be his heavy archers, at the top of the picture. Their shooting was ineffective, partly because they split between different targets and so the spearmen were at full strength when they charged home. Rolling twice as many dice was too much for the archers, who caved in. They didn't have any rear support either to stop pushbacks. Ian's line got broken and turned, at both ends.

Ian had a last chance with his chariots on his left. If he could prevail here and turn his chariots into the end of Phil & Will's line he might be able to roll them up and save the day. Alas Phil was too wily for him and drew him further away from the action. In the middle it all just fell apart.

Phil & Will ran out winners in what for most of the evening was a tense, close game.
The post game debrief focussed on whether the squares were a good idea or not. I think they help with battle field management and by simplifying movement speed the game along. Not everyone concurred. Other points raised were whether in a squares based game some type of light troop interpenetration should be allowed or not. We also had a protracted discussion on what missiles should be allowed a pre-charge shot. Basic AMW only allows javelins to do so, but there is a good case for allowing it for slings as they can be charged from outside their range as well.
I also allowed shooting to take place at any point in the game turn but I can't see this experiment being persisted with.
What battle carts/chariots actually did in battle continues to tax us. Phil had brought along Stillman's "Chariot Wars" supplement for Warhammer ancients. Under these they are even more harshly treated than by Neil Thomas in AMW: they only get to move on a 4,5,6. I simply don't get this. Building chariots and linking them up to animals is an expensive business. It's a prestige weapon and if it is only effective half the time then you just don't build them. It's a waste of resources. Is it the case that it's just a platform that brings heros & kings to the battle then retires? If so, why equip it with javelin holsters? It has to be a combat platform.
Ian is going off to do more research. He keeps e-mailing me with academic treatises on the Sumerians, so perhaps we'll find more clues. I'm in the odd position here of having all of the toys but two of my regulars knowing more about the period than I do.
PS The more eagle eyed of you will have noticed that the table looks bigger. It is. I've added an extension board to make it another 18" longer. That's partly why I used a cloth as well. It needs painting, having previously been the door to my son's wardrobe.
We had a good turnout, with Phil & Will taking on Ian. Ian, after all, is the "biblical" period expert so should be able to cope on his own.
For this game the armies have been considerably "up-gunned" and now consist of 16 units aside. There are another 4 infantry units on the sidelines in various states of preparedness, then that'll be it. I've added heavy infantry and more skirmishers (including the bow conversions shown before) and also settled on three figures on a 60mm x 30mm base for my massed archer units. That's a compromise between the needs of different rule sets and also an attempt to maximise the number of units I can get out of the boxes(with four to a base I get 2 unis. With 3 to a base and added officer figures I get three units.
The table was flat with one side closed off by a mostly decorative irrigation canal.

The army to the left has a higher proportion of archers, whilst the army to the left has more shielded infantry. Will & Phil have the army to the right.
The game started with a general advance by both sides, although Phil was concerned by his right flank where Ian had an advantage in the number of chariots/battle carts.
This advantage on his left meant that Ian was vulnerable on his right, where Will had a chariot unit that made quick ground and looked like it would turn the flank.

Will got this chariot into a position where it could javelin one of Ian's heavy archer units. The other two are at the other end of the battle line, and by this point have pushed forwards too far, so Phil's infantry have been able to close the gap and get into close combat. He also cleverly drew off some of the shooting with his light troops. The light troop/chariot maelstrom at the top of the picture probably defies description. Suffice it to say that Ian is making a complete hash of destroying a unit of slingers. Having failed to follow up and wipe them out when the opportunity occurred he end up getting himself isolated and surrounded. One of the lessons learned here was that light infantry working together are a good way of messing up chariots.
In the middle the infantry lines clashed. I think they look mighty fine.

The units in the squares in the second row are providing support and preventing pushbacks. Pushbacks are calculated after morale checks when the side with total losses (including morale losses) is pushed back a square. If their opponents follow up they get +1 die per base the following round. I should also point out here that heavy units fight across a square's boundary edge. To fight a light unit you have to move into its square. That gives light units a chance to throw javelins and evade heavy infantry should they wish to.
Ian's weak link turned out to be his heavy archers, at the top of the picture. Their shooting was ineffective, partly because they split between different targets and so the spearmen were at full strength when they charged home. Rolling twice as many dice was too much for the archers, who caved in. They didn't have any rear support either to stop pushbacks. Ian's line got broken and turned, at both ends.

Ian had a last chance with his chariots on his left. If he could prevail here and turn his chariots into the end of Phil & Will's line he might be able to roll them up and save the day. Alas Phil was too wily for him and drew him further away from the action. In the middle it all just fell apart.

Phil & Will ran out winners in what for most of the evening was a tense, close game.
The post game debrief focussed on whether the squares were a good idea or not. I think they help with battle field management and by simplifying movement speed the game along. Not everyone concurred. Other points raised were whether in a squares based game some type of light troop interpenetration should be allowed or not. We also had a protracted discussion on what missiles should be allowed a pre-charge shot. Basic AMW only allows javelins to do so, but there is a good case for allowing it for slings as they can be charged from outside their range as well.
I also allowed shooting to take place at any point in the game turn but I can't see this experiment being persisted with.
What battle carts/chariots actually did in battle continues to tax us. Phil had brought along Stillman's "Chariot Wars" supplement for Warhammer ancients. Under these they are even more harshly treated than by Neil Thomas in AMW: they only get to move on a 4,5,6. I simply don't get this. Building chariots and linking them up to animals is an expensive business. It's a prestige weapon and if it is only effective half the time then you just don't build them. It's a waste of resources. Is it the case that it's just a platform that brings heros & kings to the battle then retires? If so, why equip it with javelin holsters? It has to be a combat platform.
Ian is going off to do more research. He keeps e-mailing me with academic treatises on the Sumerians, so perhaps we'll find more clues. I'm in the odd position here of having all of the toys but two of my regulars knowing more about the period than I do.
PS The more eagle eyed of you will have noticed that the table looks bigger. It is. I've added an extension board to make it another 18" longer. That's partly why I used a cloth as well. It needs painting, having previously been the door to my son's wardrobe.
Thanks. I'm quite pleased with the massed effect as well.
ReplyDelete