Richard was putting on the game this week, with a refight of Blore Heath, the battle everyone remembers as the death knell for the cavalry charge in the Wars of the Roses.
We had a big virtual turnout for this game, with me, Steve (not on nights this week), Ian, Will (back after a long MNG break with his first on-line game) and Jon. Not really being greedy, Richard had wanted another player, so he had three a side. As it was, the Duke of Exeter was really an autopilot role, so we were okay. Ian and I took the Lancastrians, and Jon, Steve and Will the Yorkists, from left to right in the pictures.

We had some opening turn decisions to make, about whether we would attack mounted or not (we're in the distance). Ian decided not to mount up (he was playing Audley). Exeter went off at a gallop, and I had a discussion with Richard. Initially I wanted to attack mounted, supported by my battle, but Richard said I couldn't split it, so I went into a sulk, and stayed on foot....but resolved, secretly, to take my horses with me.

Turn one, and as I said Exeter went off on horseback, leaving his men behind. Ian decided to stay skulking behind his hedgerow. I thought it best to give Exeter as much support as possible, and headed off after him.

Exeter on the right of the picture started to take some arrows from Will, hiding in the wagon laager.

In fact, it was all looking a bit sticky for Exeter, as the stream was in a dip that really slowed his progress. Steve, as Salisbury, stepped forwards and started to apply the cloth-yard shaft with a will. The decision to stay on foot was looking good.

Exeter struggled out of the morass, considerably the worse for wear. Ian and I were just about to start crossing. Ian was not being shot at by anyone. Jon was opening up on me. Luckily I had my archers to the front, who could return like for like, and in the grand scheme of things were expendable when push came to shove in the melee that was to follow.

Exeter veered round to line up on Salisbury, as I emerged from the stream valley. Ian was lagging a turn behind, so the Yorkists were able to concentrate on Exeter.

Which they duly did, inflicting enough damage to drive Exeter off, back towards his own lines. As he was on a compulsory charge and Ian rather hung him out to dry by letting him go it alone it was probably a good thing no one was actually playing the role.

Now firmly on flat dry ground I ordered my men to mount up. This sort of flummoxed Richard, at first ("I wasn't expecting this"), and he also let me deploy them in the second rank, behind the archers. The archers had a dual role: softening up the Stanleys opposite, under Jon's command, and also stopping my horses ending up looking like pin cushions.

Ian was making heavy weather of getting out of the stream, as Exeter crossed the bridge on his homewards journey.

At this point we had a discussion about passage of lines and so on, and who could charge who on my flank. Richard had written rules to sort of cover this, and had a problem finding them and then applying them to everyone's satisfaction. There was some debate about whether foot could charge horse and some other issues with the exact way the mechanisms work.
Ian just ploughed in with his archers to the front.

Then we were all at it, hacking and slashing. You'll note that Jon stepped forwards and the melee on the left is taking place on the road, not behind it. By moving forwards a couple of inches he denied me enough room to charge. This bit of the rules may need looking at, as the idea of infantry closing down the gap to prevent a charge looks and feels a bit odd. Will emerged from his encampment to shoot into the flank of Ian's battle, much to the latter's annoyance.

The cavalry make an impact, but not as great as I'd have liked. Because of Jon's advance I lost the charge bonus, and my dice rolling was rubbish. However, I had a re-roll option with my commander, and so I did, and turned my single 6 and a handful of dross to 6,6,6,6,2,1. Four hits! That knocked Jon back and nearly broke him, too.

It was all getting very nip and tuck. Both sides had taken a lot of damage and were close to breaking if things were to go badly in the next turn of combat. In the background Exeter has dismounted his remaining knights, and is bringing his battle forwards.
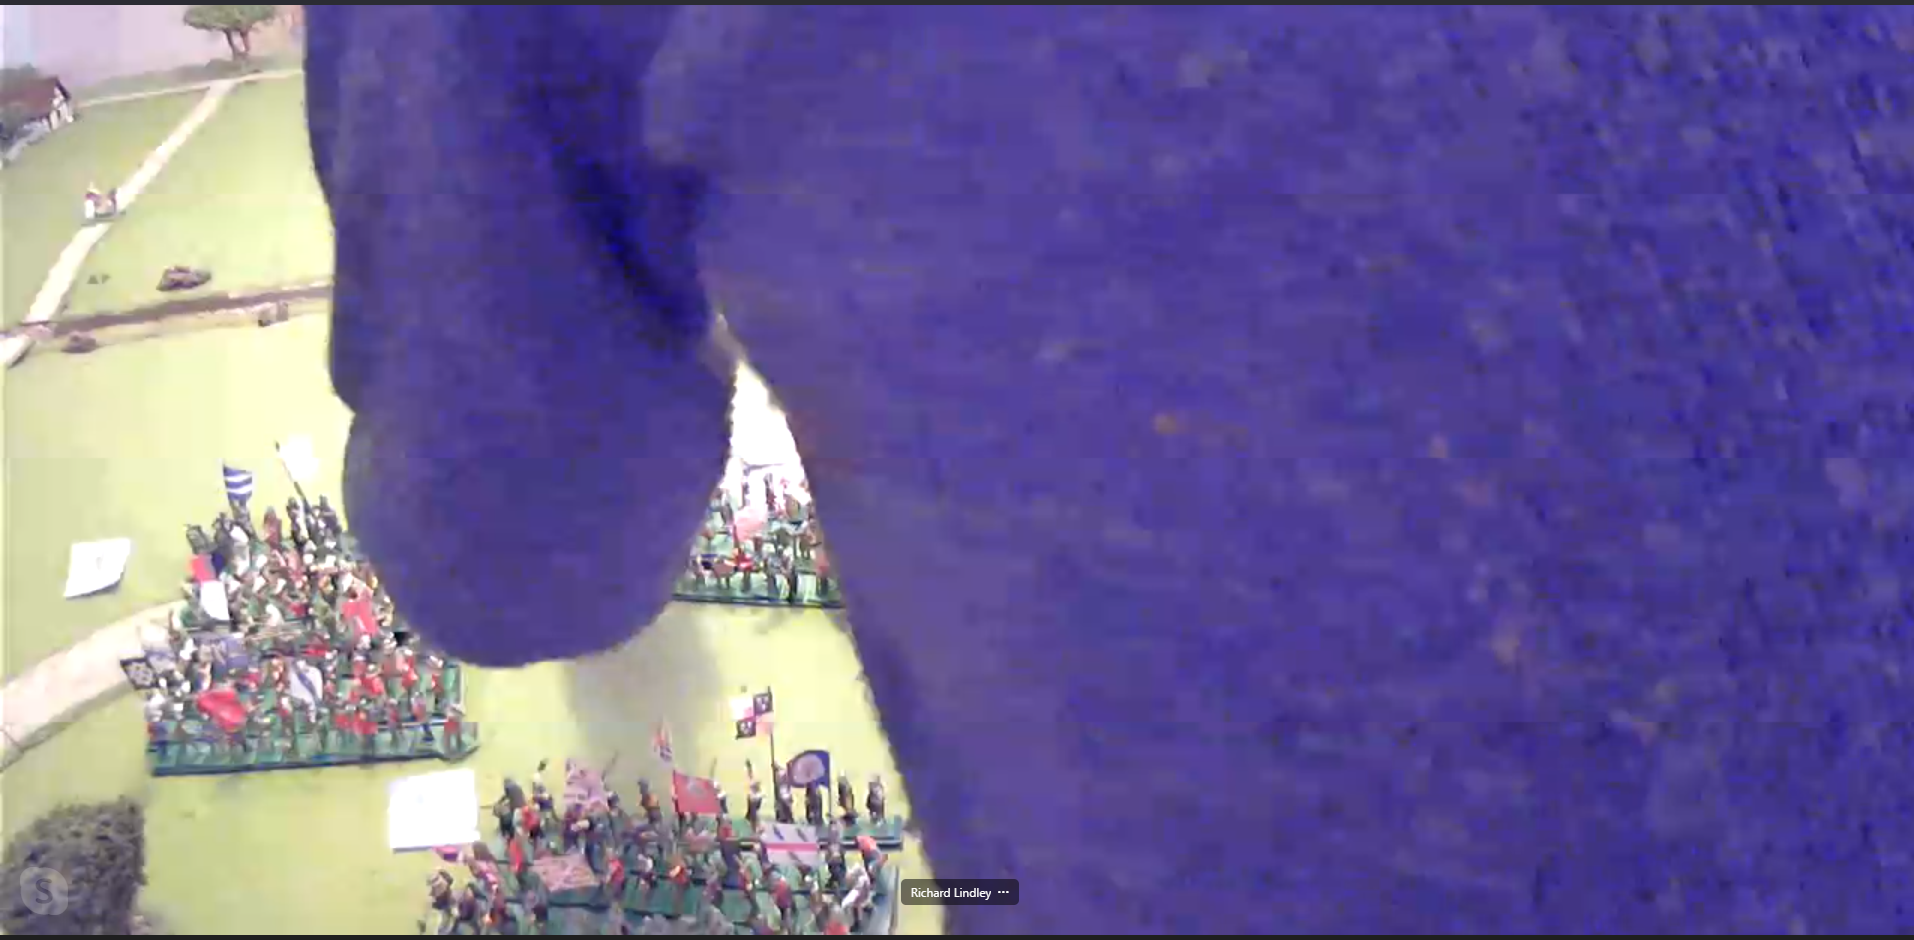
Ian has a big win in his turn (by this point Audley is injured, and Salisbury has been captured during the melee), and Steve's battle is thrown backwards. Meanwhile, Richard blocks as much of the camera as he can.

I manage to hold on in the next round of combat, and Ian piles in again. In one desperate round of fighting he inflicts enough damage to break Steve....

...and this causes Jon to flee as well. Lancastrian victory! Cavalry the war winning weapon of the now foreshortened Wars of the Roses.If Exeter hadn't drawn all that shooting on himself, Ian would never have won that melee.
After a slow start - that's a long walk across the table, with difficult ground in the middle - the game ended in a tense finale. It can be a bit of a slog, and I think it would play better as a two player game, as you'd have more decisions to make.
I'm not exactly sure if the cavalry mechanism is working as it should. I think I played a bit fast and loose to get in close enough to make contact whilst remaining viable, but I don't see how it can be done otherwise, given the small size of the units, and the lethality of long bows at all ranges.
Apart form that, it does look and feel like a WotR battle, with authentic decision making, so well done to Richard. I hope he keeps working on the rules.
As a foot note, as far as I can tell this clip from Google Street view shows the battlefield from behind the Lancastrian lines, i.e. looking towards the camera in the photos of the game. You can see a hedgerow in the middle distance, in front of the yellow field. I think that's the line of the stream.

Excellent report-out, Graham! Your re-roll to gain four hits was almost soul-draining. The color went out of my face, for sure. Remarkable result that put a major hurt on my second line.
ReplyDeleteOnce we closed, the action was hot and quite fun with back and forth blows. I like the game a lot.
As a game note, Stanley asked for terms rather than breaking like his comrade ex-Salisbury.
That re-roll was a miracle. Up to that point I'd been rolling sub-par. The back and forth of the combat works well, and is very tense.
DeleteAnd I'd forgotten I'd offered quarter, although what happens next I'm not sure. Hindsight tells you to never let a Stanley out of your sight, and never turn your back on one.
Interesting tactic to walk the horses and remount. The downside to that must surely be that they are going to need someone to lead them, taking troops out of a combat role and they are a secondary target for area longbow fire so you might get there without enough horse flesh to remount all your mounted chaps!
ReplyDeleteI don't like simply saying can't do it I prefer to allow things but add in disadvantages to show why it might not have been a favoured option.
I'm not sure that I would have allowed it, without discussion beforehand. It's not a known tactic, but there is a real problem about getting cavalry in a position to charge with the rules as written so I tried something a bit different.
DeleteAs for there needing to be disadvantages, the poor blighters have enough as it stands, as you can see from Exeter's debacle.