After discovering that my planned game wouldn't work (this one really did need players to share a single deck bespoke of cards) I fell back on the next development project for another trial game.
As I've fought all the major battles of both the '15 & the '45 I set up an imaginary game post Sheriffmuir, where a column of troops supporting the British crown are moving into the Highlands, only to be ambushed by the local residents.
The British column was made up of three Dutch battalions, three British battalions, two cavalry regiments and a small battery of field guns. They were moving along a road next to a fast flowing river. Three clans, each consisting of two clan regiments were on the heights, just waiting for their moment.
Richard was the Dutch, and Steve was the British. Ian, Phil and Jon were the Kilties, going from left to right in the picture below.


End of turn one, and after much agonising the British and Dutch have decided against clambering over the wall, as that'll take too long to form up afterwards. It's a tight fit deploying everyone on the road. The Highlanders just decided to rush down the hills.

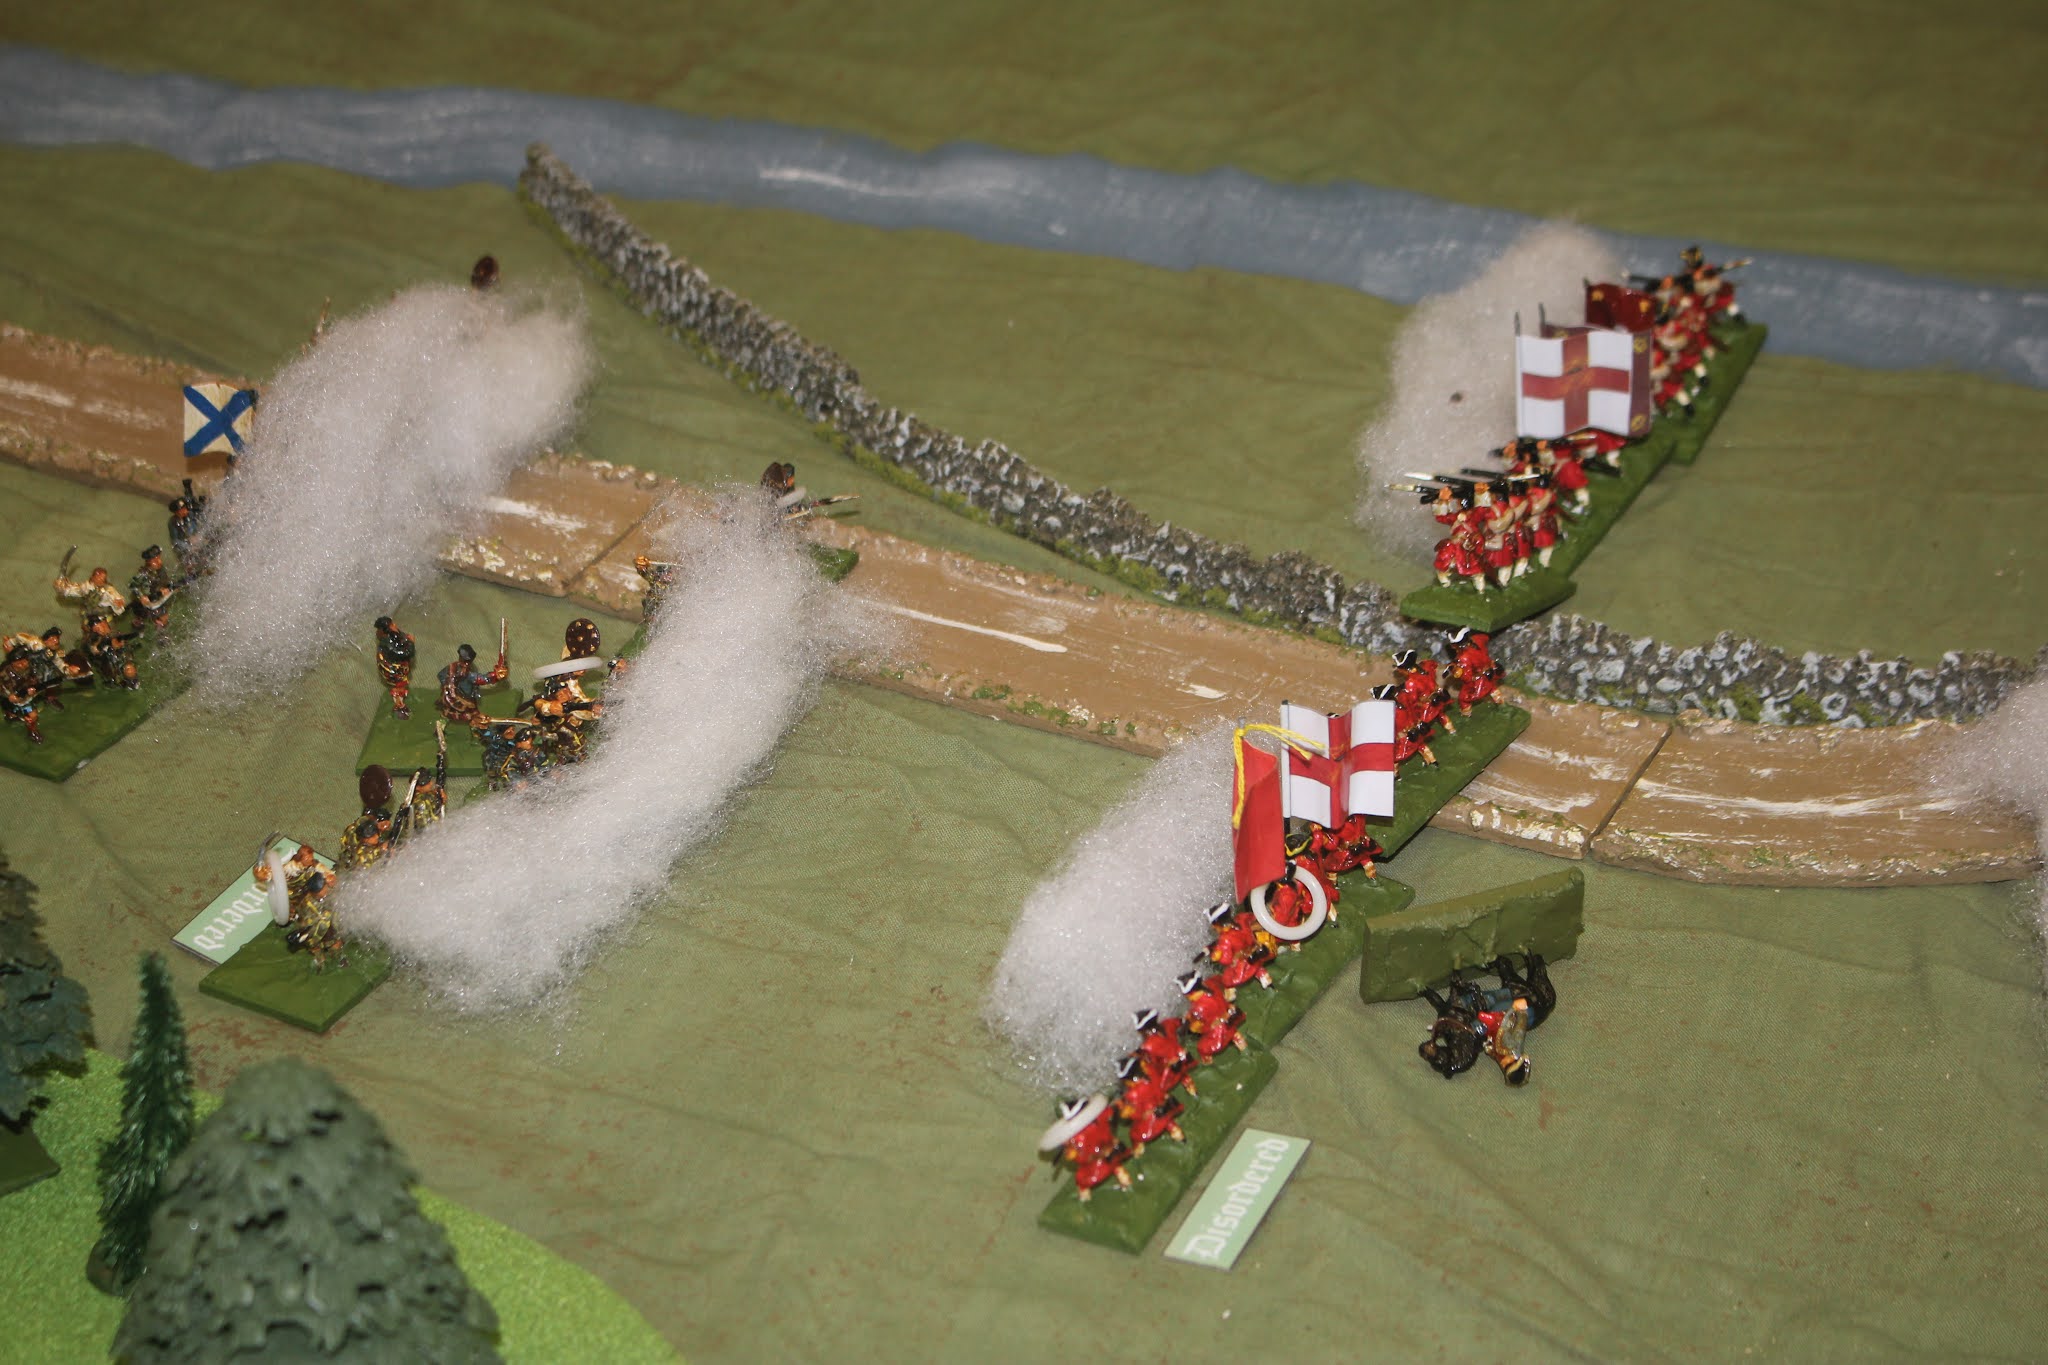
It all got exciting really quickly. A round of artillery fire inflicted some hits on Ian's laddies, but they shrugged it off and collided with Richard's rear unit. They got off a ragged volley, having been intimidated by the charge. They survived the initial onslaught, just, but were thrown back over the wall. The gun crew had got there ahead of them.

Elsewhere, the Highland units that didn't make charge contact opened up with some desultory musketry.

Next turn, and the Highlanders are making contact on the British right and centre, with another unit of Dutch infantry, and the leading cavalry regiment the targets.

The Dutch unit that was forced over the wall now breaks and heads for the river in disarray.

On the British left, Steve is having an easier time of it. Ian's Highlanders are loosing off a few shots at the cavalry to soften them up, to no effect.

Steve's infantry, fully formed up and prepared, unleash a devastating volley.

Another of Richard's Dutch battalions is broken, and routs into the enclosure.

On the British right, the cavalry lost out to the Highlanders in round one, and retired backwards, but were hemmed in by the river. The melee was intense.

Richard has extracted one of his Dutch battalions from the fiasco, by marching them straight forwards. The enclosure is now a killing ground, but the Jacobites need to finish this off quickly, as two untouched British regiments start to move up.
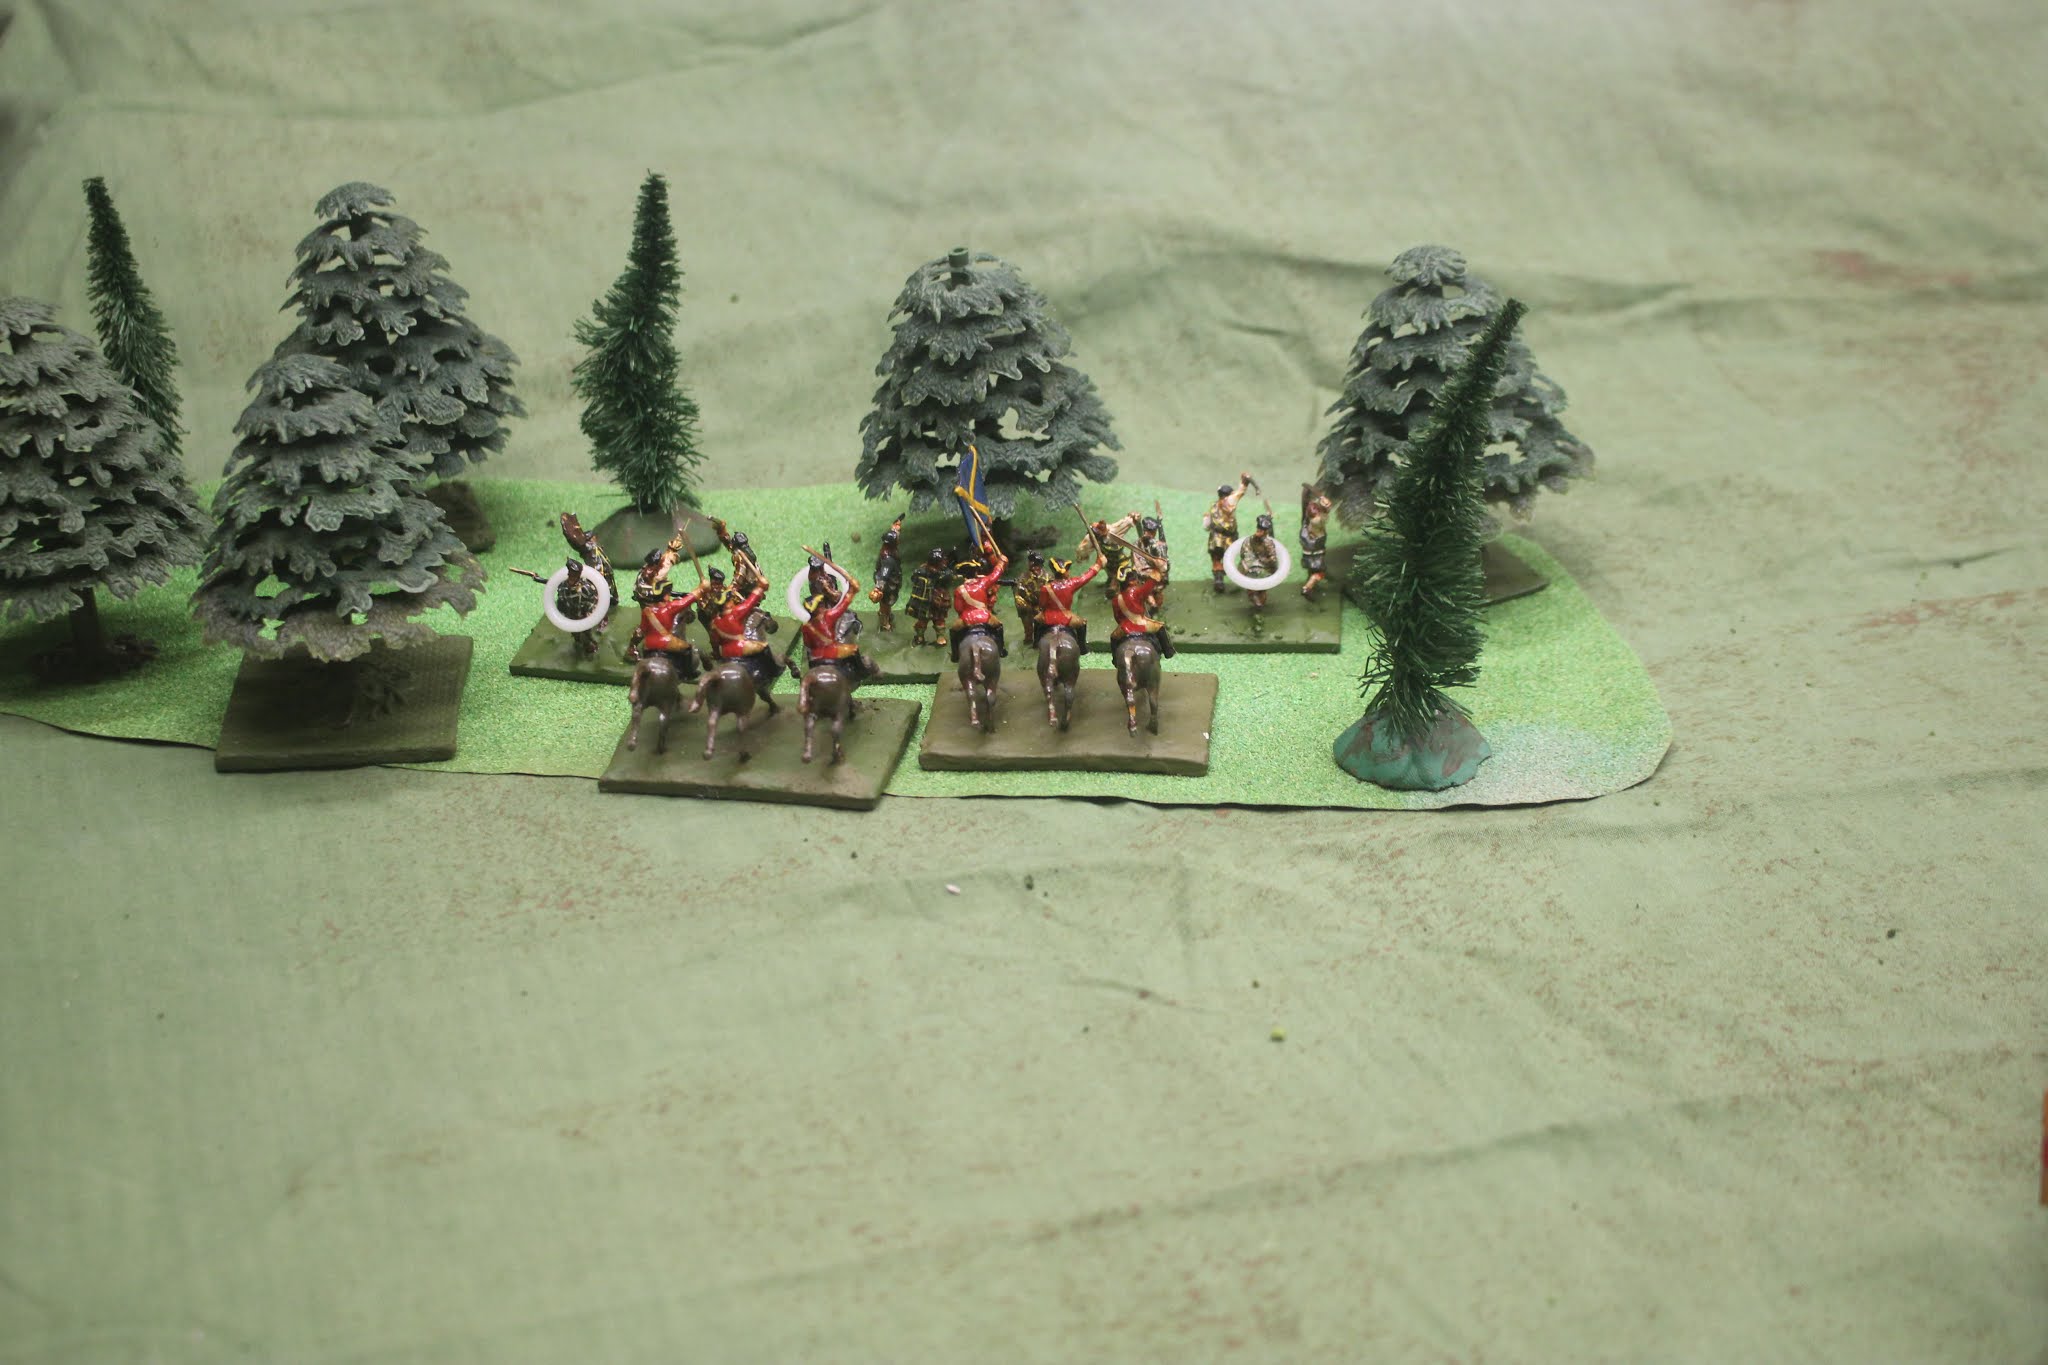
Ian's Highlanders on his extreme right come off a poor second to Steve's dragoons, that pursue them into the woods.

Steve is able to put a volley into the Highlanders in the enclosure, which breaks them, and they skedaddle.

The cavalry on the other flank, however, are broken by the Highlanders.

Having seen off the Highlanders on his flank, Steve now has his full infantry brigade to sort out the mess the Dutch have made of the right and centre.

Richard's remaining unit has returned, and is immediately charged.

The clan leader is enveloped in smoke as volleys are exchanged. The Dutch, however, are already wavering, having been intimidated by the charge.

The Dutch are driven back. It's looking grim. Has Jon pulled off a stroke of genius?

Steve's troops are now lined up, and are pushing steadily forwards. He has a reserve battalion, should things go badly wrong with the last Dutch unit (technically, by the way, the whole army has reached its break point, and should be retiring, but that didn't feel right, so I carried on).

And Richard's last unit breaks and flees up into the hills, led by their commander.

The British look pretty solid, and press forwards.
The Highlanders launched one last desperate charge at the left hand British foot regiment, but are driven off. Alas, Steve's commander is shot from his horse, fatally wounded.

Game end. The Highlanders have rallied one of their fleeing units, but Steve's pursuing cavalry have disengaged from chasing the routing Jacobites, and is ready to join the fray.
Time for the clans to withdraw, and start to sing songs of their bravery.
There then followed a lively argument about who had won. The British hold the field, and both sides have taken heavy casualties, the British forces probably more so, having lost 3 Dutch foot battalions, a cavalry regiment, and all the gun crew. The Highlanders have lost two or three clan regiments, which they can ill afford.
However, the incursion into the Highlands has been halted. The British, without a General, have a tough call as to whether to press on to their destination, or fall back. In the long term this probably means twice as many Crown forces deployed, and massive retribution against the clans.
The game took just under two hours to play, with 5 players, and their was a lot going on. Some food for thought, as always, but I enjoyed it and I hope the players did too.
This was another enjoyable action and well told by yourself. I always enjoy seeing your post-game close-up photos since the details and color of your troops are not easily distinguished by my old eyes via Zoom.
ReplyDeleteIan's sacrificial attacks by his two bands pinned the Government forces and prevented them from fully deploying and advancing upon their objective. His pinning attacks allowed Phil and I to disrupt the enemy's van and cross its 'T' in an effective manner. Good fun!
Richard did lise all the intimidation rolls, which didn't help him. I think that the initiative rolls or choices didn't give the British the chance to step up into range and deliver a first fire before the Highlanders charged, which bay gave been critical. It might be a good one to play again.
DeleteI would play it again, for sure. I really do not enjoy facing platoon-firing infantry.
DeleteCharging them head on is certainly a risky business.
DeleteGreat stoush - both sides. Actually, I'm inclined to think it was two battles, the Highlanders winning the first, but losing out in the second. No doubt the still fresh Englishers gave the routed Dutch the edge of their jeers and catcalls as they marched into their second battle (I have never accepted that troops run away JUST because they 'saw' other troops run away; what ARE NCOs for, after all?). One of those unusual instances in which the rules 'as writ' call to be set aside.
ReplyDelete"It was a game of two halves, Brian" as the saying goes. There was some slight ribaldry from the British troops. The rules don't have a routing contagion test or result. You have to threaten troops to make them run away.
DeleteGreat little scenario and I though the Anglo-Dutch were going to be blown away by the Highland Charge at the start, but how wrong I was. It reminds me of a programme I saw a good few years ago with Neil Oliver about a battle in one of the Risings, where the Highlanders charged down the hill and then, due to a dip in the land, disappeared from view until almost the last minute. This meant the the British volley was pretty poor as they couldn't see the enemy until ti was really too late.
ReplyDeleteIt did look and feel like a real battle. The regulars need to rough the Highlanders up before they charge, or it's bad new.
DeleteGreat looking game and a most enjoyable report Graham. While not an out and out defeat, the British and their Dutch mercenaries seem to have received a significant bloody nose. Retribution to follow, as you note... The way of empires!
ReplyDeleteRegards, James
Thanks. Much as they have a poor reputation the Airfix WA stand up remarkably well. Or is it just the bright colours and big flags?
DeleteI really like them. Your excellent painting and the flags certainly add to them, but they are a good starting 'canvass' aren't they?
DeleteI have a deep affection for them for when they were pretty much the only tricorn range available. They take paint well, even when you aren't following the moulding exactly (and I don't for these!). I think the small details like just putting on the white lace edging to the hats make a real difference. And the big flags. Did I mention the big flags?
DeleteI don't see grid markings on this table; did players use some other method for instructing the GM?
ReplyDeleteCorrect. There is no grid. Orders had to be of the "advance my men down the hill until they reach the woods". The sort of commands you might actually give in practice, almost.
DeleteThanks! I've recently gotten some of Wofun's plexiglass flats, both '45 and WoSS, and am thinking of combining them for larger battles. Might try this scenario of something akin to it.
DeleteWe're giving it another go on Tuesday to see what happens.
Delete