The steady ramp up of the elements in "It Rolls for Ivan" - IRFI to its friends - continues apace. This Tuesday we were back in Russia, and this time the Reds had some Cheka about, just to keep an eye on things.
The Cheka units are causing me some bother. Firstly, did they get that close to the front that they saw any action? Most likely not. Their function is more in the way of "battle police", making sure all of the Red units are going in the right direction. Still I've got several bases of them, all in their shiny black leather, so they need to be on the table somewhere.
This was to be another hybrid game. We were down to two in Shedquarters, they being Chris K and Tim. Phil, if you hadn't heard, is unwell and is currently in Northampton General. Jon, Richard and Ian joined by video link. Rather than just act as a croupier, Chris had an active command alongside Jon with the Whites, with Ian and Richard as the Reds. Tim was happy just to push the toys about.
The situation is given on the map. Both sides must control the central rail/road junction, whilst destroying the enemy force. The Whites are slightly better quality, the Reds have an extra armoured car, and a Cheka squad. The Cheka are two companies strong. Any unit within 12" of them that fails a "Nyet/Da!" test is automatically coerced into action.
The map translated on to the table as something like this. I went for a lot of trees, and dispensed with built up areas, just to change things round a bit.
Ian pushed his armoured cars forwards aggressively. I think this may have been unwise. It is early in the turn, and he has used up all of their activations, so they are vulnerable to attack. His Naval Brigade starts off a bit dodgy, and fail their first NYET/DA!. As they are within 12" of the Cheka, they automatically take a coercion marker, and advance. This colours their performance for the whole game. They are the Reds' best infantry, but they become reluctant to use them in case they NYET again.
Chris is into the action, moving up his Cossacks. He has a thing about cavalry getting across the table and then being attacked, unable to respond. He thinks this is unfair. I talked him through the options and the idea of reserving an activation so he can react, and he had a light bulb moment (this doesn't alter the fact he was unlucky later on, but he was okay with how it all went).
The Reds find the range of the White artillery, and open up. There's some confusion. The initial barrage falls short, but then Richard readjusts and hits the target. There are two barrage markers as he fired the guns of his battery individually. This increases flexibility, at the cost of using up activations at double rate. (I should note here that there are too many blast markers on the target. I forgot to apply the modifiers when placing them).
This picture doesn't tell you much about the game, except I had happy wargamers in SHQ.
I think Jon had a plan to use the central wood as a pivot for his advance, with his guns providing fire support. The Red artillery has rather stymied this, denying use of the area.
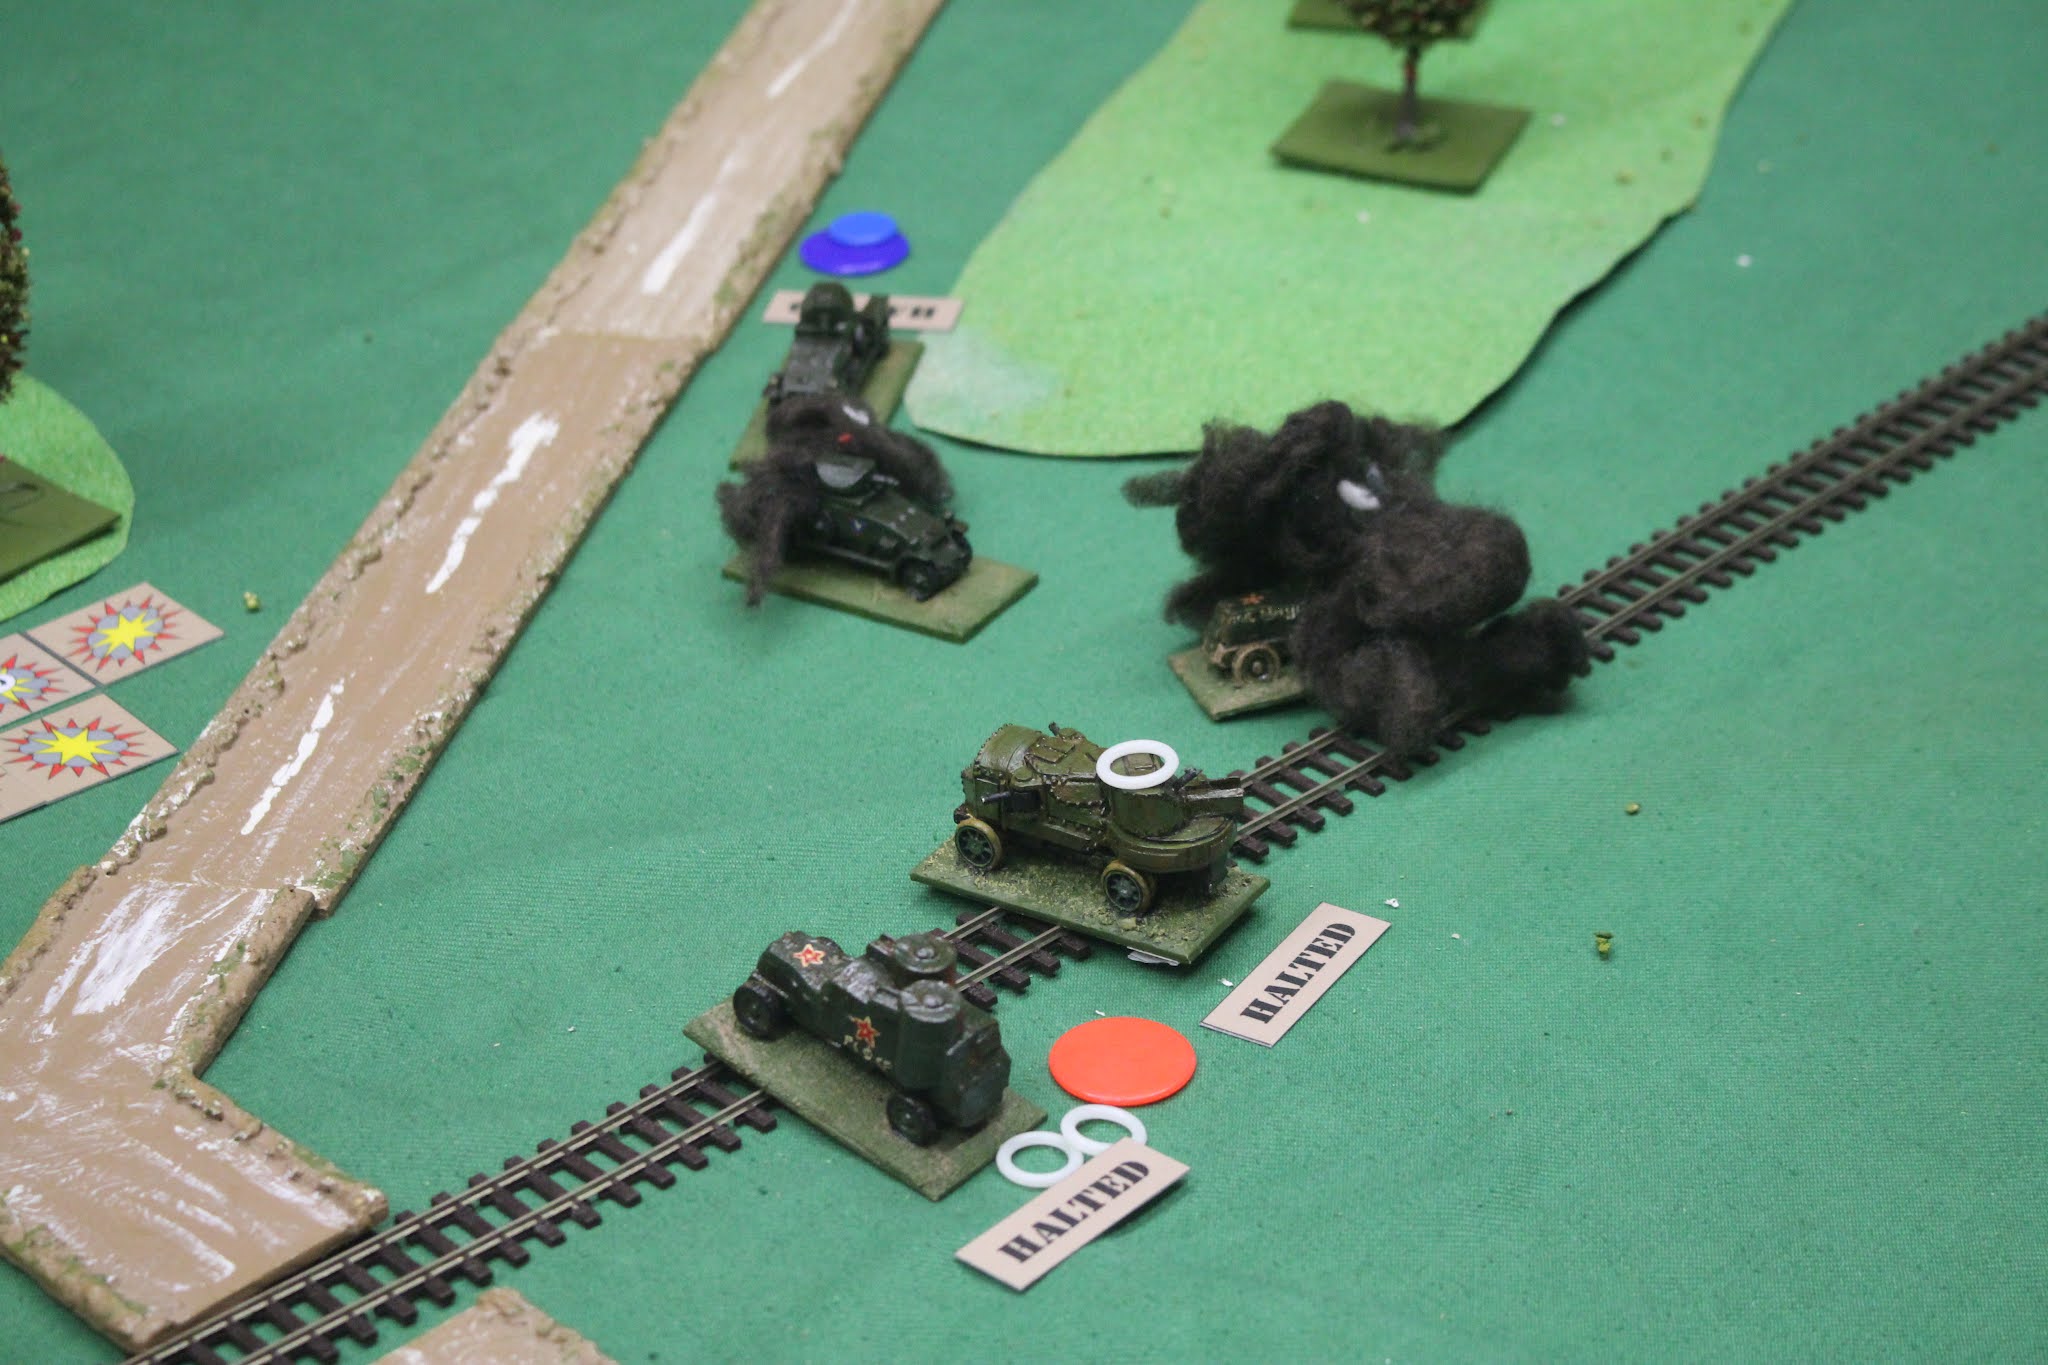
The White armoured cars scream to a halt, and pour fire into the lead Austin Putilov, causing two hits.
Quick overview/recap. The Whites are advancing steadily all along the front. The Reds have focussed on pushing their armour forwards, and using their artillery. Consequently the rest of the army is hanging around on the base line. (Quite pleased with this picture. All the clutter off the table, despite coffee mugs clearly in use).
The exchange of fire between the armoured cars results in both side losing one each, before the Reds pull back out of HMG range. The Garford opens up with its heavy gun.
A cavalry melee on the Red left flank! The Whites launch a charge, and the Reds counter. It is an evenly matched contest, with the outcome dependent upon the dice roll.
The first round is a draw, with both sides retreating to their start lines.
The Reds charge back into the fray. Ignore the Halted marker. They are obviously moving.
This time the Reds prevail, and the Cossacks turn and flee.
It gave me a chance to use some of my newly painted casualty markers. We are nearing the end of a turn. The initiative next turn will be important. Those White infantry have some Red cavalry on their flank, and every one has used all their activations for this turn.
In the centre, Jon rediscovers the joy of the skirmish line.
The Red infantry starts to rumble forwards.
"Well" says Richard, "Let's see how the close combat infantry rules work. I'm in a mass and he's in skirmish order. I should have some advantage". The Red column storms forwards. The White infantry hold their nerve, and open fire at point blank range with everything they've got. It is a devastating hail of fire.
Tim contemplates where his on-line masters have got themselves.
So the Whites win the initiative, deploy into line and give two rounds of fire into the cavalry. The latter don't come out of it very well.
Chastened by his previous experience, Richard deploys into skirmish formation. Chris has occupied the wood, but not yet opened fire.
Richard charges into the flank of the troops in the wood. He wins the fight, but at some cost.
On the Red right, the Whites have pushed forwards and occupied the wood. Ian seems uncertain of how to deal with this. He is very reluctant to put the sailors anywhere near the enemy.
The armoured cars close on each other again. Shots are exchanged. Damage is inflicted.
Richard switches targets with one of his guns, and hits the White infantry in the middle of the board. He follows up his initial charge in the wood, and breaks the white cap infantry.
We'd been playing for 3 hours, so I called a halt there. A further full turn would take another hour, which would get us to midnight near enough, and some people had work or appointments in the morning.
We'd played three turns, which doesn't really seem a lot, but loads happens in a turn. We certainly had lots of action. The system seems to be going down well in this guise. Chris, who didn't play FWTDR, (and generally doesn't like tactical games) remarked that it plays like an operational game. I think that means that you have to plan your attacks properly, doing the appropriate preparation. I've also nicked bits from his NQM operational rules as well, which also may account for the comment.
The Cheka were a bit of a problem for the Reds, who didn't work out how to use them. That's because the rule was lop-sided, reducing choice to no benefit. This will be changed for the next game. I also have to tidy up the Zombie Unit problem, which seems to occur more frequently in IRFI than it did in FWTDR.
Progress is being made.


Another interesting scenario and good that the rules are progressing well. I must say that I like the armoured cars, which look great:)
ReplyDeleteThe rules work really well for these size forces, and when they're reasonably balanced the scenario almost takes care of itself. The cars are great. Mixture of 3d printed, Peter Pig and a Phil Steele scratch built special.
DeleteA very interesting game! I like the way you comment on the course of events. The bodies of the fallen soldiers convey the whole drama of what is happening. Graham, I ask permission to post photos from your game on one of the forums in Russia.
ReplyDeleteYour praise means a lot to me, as it is part of your history more than mine. Please feel free to post the pictures and a link to your friends in Russia. Let me know if anyone says "This fool of an Englishman knows nothing!"
DeleteIt’s coming along nicely.
ReplyDeleteNeil
Thanks. It is keeping me occupied as the nights draw in.
DeleteGreat game photos. I thought including a mix of in-person and remote active players worked well. Good to see the in-person participants actually take on commands rather than simply pushing others’ troops.
ReplyDeleteYes, the game did work well, didn't it? I wondered if you might be at a disadvantage, not being able to use in game chat with Chris, but that might have been compensated for by having a partner who could actually see the table properly.
DeleteI felt no disadvantage regarding comms. Our commands were separated. Communication would have been just as difficult in RL as at your table. I thought Chris and I actually had less confusion and indecision among the commanders than the Reds.
DeleteYou both did seem to be more decisive. The Reds got very coercion-scared early on, which caused them to dither a bit.
Delete