After a spot of lunch I subjected the chaps to a second game (for me, that is) of my War of Spanish Succession project.
The Franco-Bavarians started off, and fired their guns. It has to be said artillery was completely ineffective in the game (with a marginal exception).
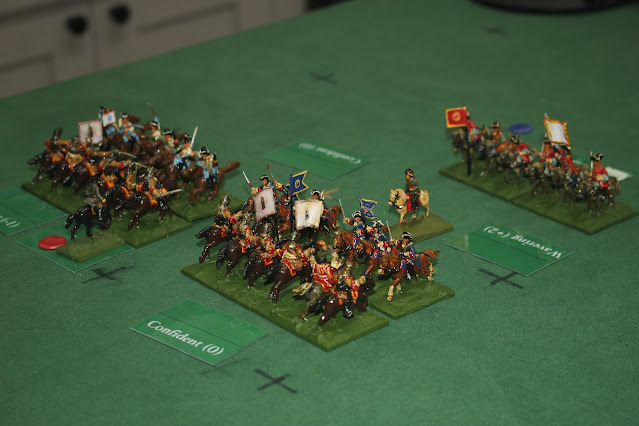
Richard was privileged to be given the Imperial cavalry. There's a new regiment of cuirassiers in there, near the camera, with a fancy drummer.
As our guns thundered out ineffectually I moved the cavalry on my flank up as well.
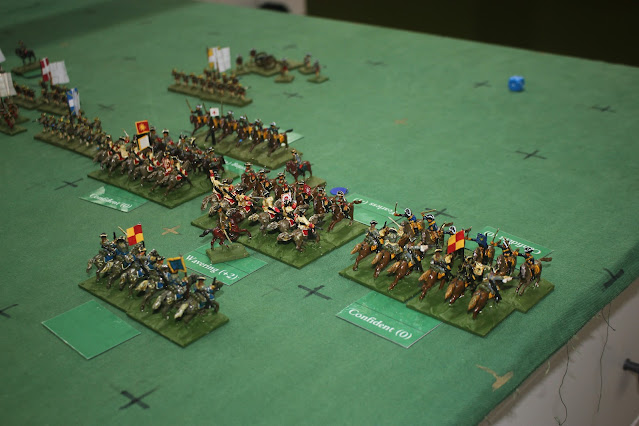
Phil launches a cavalry charge. When the morale values are revealed they favour Richard, but Phil's cavalry pass their morale checks and make contact.
Phil brings his second rank cavalry up in support and wins the melee, pushing Richard back. The other melee, to the left, was a draw and the units have withdrawn to their start positions.
Richard has me extend the line to the right, and move across units as supports.
Richard's cuirassiers take the opportunity to disengage and rally back behind their supporting infantry. This also allows them to redress ranks. Phil declines the chance to charge the infantry frontally.
The cavalry battle on my wing commences.
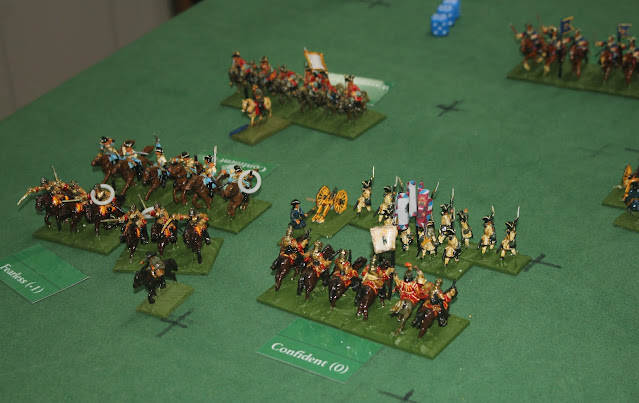
On the other wing the two units that drew charge each other again. Richard halts his infantry and deploys his battalion guns.
On my wing Chris rolls a lot of hits. I have to take two morale tests. All I need to do to hold on is roll 4+ on one of the two dice. Oh curses.
Luckily the potential break through is prevented by a steady line of red coats. My other cavalry also loses, and is forced back. On the table edge, another drawn melee sees the two sides part, as before.
The infantry is still outside musket range, but closing slowly. You will note that due to its complete uselessness, the infantry has interpenetrated and passed the artillery gun line, or is in the process of doing so.
Finally the infantry are in range, and the shooting starts.
The Bavarians on Phil's wing, with some French support, open fire all along the front. I think this might have been a mistake, as French troops in particular get bonuses as they can cold steel charge, but have a reduced chance of doing so if they get into a fire fight.
On my wing, the cavalry melees aren't going in my favour, as one of my units is broken. There is something to be done with how things are shown on the table top. To avoid double moves, routers move in their movement phase so if they are broken in the opponent's turn they are not moved back immediately. You need to remember this.
Oh no! On Richard's wing the "fearless" cuirassiers break and flee. Looks like that flank has been opened up somewhat.
On my wing I'm doing well out wide, but the inner flank has collapsed a bit.
Richard is holding on over on his flank with his cavalry. Phil has a unit that has pursued off table, so the timing of its return could be critical.
The cavalry on the left clash.
Phil's cavalry are "bounced", with no great damage done. His infantry breakthrough has reached the table edge, but elsewhere our infantry is prevailing.
The British infantry start to drive deep into the French position. Despite their slightly dodgy morale, the Scots Fusiliers are not only hanging on, but pushing forwards too.
As you can see, my infantry are turning the French flank, and the whole line is giving way. My remaining cavalry is keeping Chris' horsemen occupied out of picture.
The Scots break their opponents. It is starting to look like a procession to the back of the table now.
Phil remarked that the game played well, and it felt like the rules had always used squares. Going to squares has lost a few of the nuances from the early rules - like the idea of close range and REALLY close range - but it has resolved some of the messier issues with exactly where units are, and what happens when they don't line up precisely. It also speeds movement of figures by dispensing with tape measures. The squares also impose linearity (is that a word?) on a game, which looks right for linear warfare. There are issues with when units are moving/fighting on the diagonal, but they can be resolved by careful thought.
So, good progress being made. It looks like a WSS battle, and it plays smoothly. There's a need for some on table markers for those of us getting on a bit and whose memory is fading slightly and can't remember who won that last melee and who is following up who or did we just make contact?
And that rounded off the day, and we went down the pub for dinner.


A fun looking battle, and you're right, it does look WSSish. If you are doing any Zoom playtests, I'd love to sit in on one, with the caveat that I'm five hours behind you...
ReplyDeleteI'm wondering about live streaming a game on Facebook some time. My broadband contract is up for renewal soon, so hopefully I can get an upgrade to line speed. And a better router.
DeleteThat looks great Graham, I'm glad you are getting there. Squares often do solve many problems, but can introduce some complications too.
ReplyDeleteI think we accept many issues with tape measure games, just because we always have. Getting used to grid games just means accepting that there might be some things that sometimes look odd but actually make sense.
DeleteThe game looked good. I too really like to use grids ever since I first started play To the Strongest. Not fiddling with rulers and arguments about 1/8 of an inch between players...don't miss that at all.
ReplyDeleteI agree. I don't get how other people can't see it.
Delete