Back to "Tricorn and Bonnet" this week. I have two final battles to work through for the rulebook before I settle down to polish the rules sections, these being Falkirk and Culloden. Because of the circumstances of how and when Falkirk was fought it provides a number of challenges as a scenario that I haven't worked through yet. So it's Culloden this week.
Culloden also presents some issues, but is mostly a straight up fight. The battlefield is quite deep for the number of people involved, which was probably 5-6,000 a side. That's because a lot of attention is paid in accounts to the pursuit of the broken Jacobite forces and the British flanking manoeuvre on the Jacobite right which was intended to cut off and destroy the Jacobites following their defeat, rather than turn their flank to cause it to happen. The British position is also notionally quite deep, as it deploys in up to three lines to absorb the shock of the Highland charge.
For this game I was joined by Tim & Phil, who played the British, and I partnered Steve with the Jacobites.
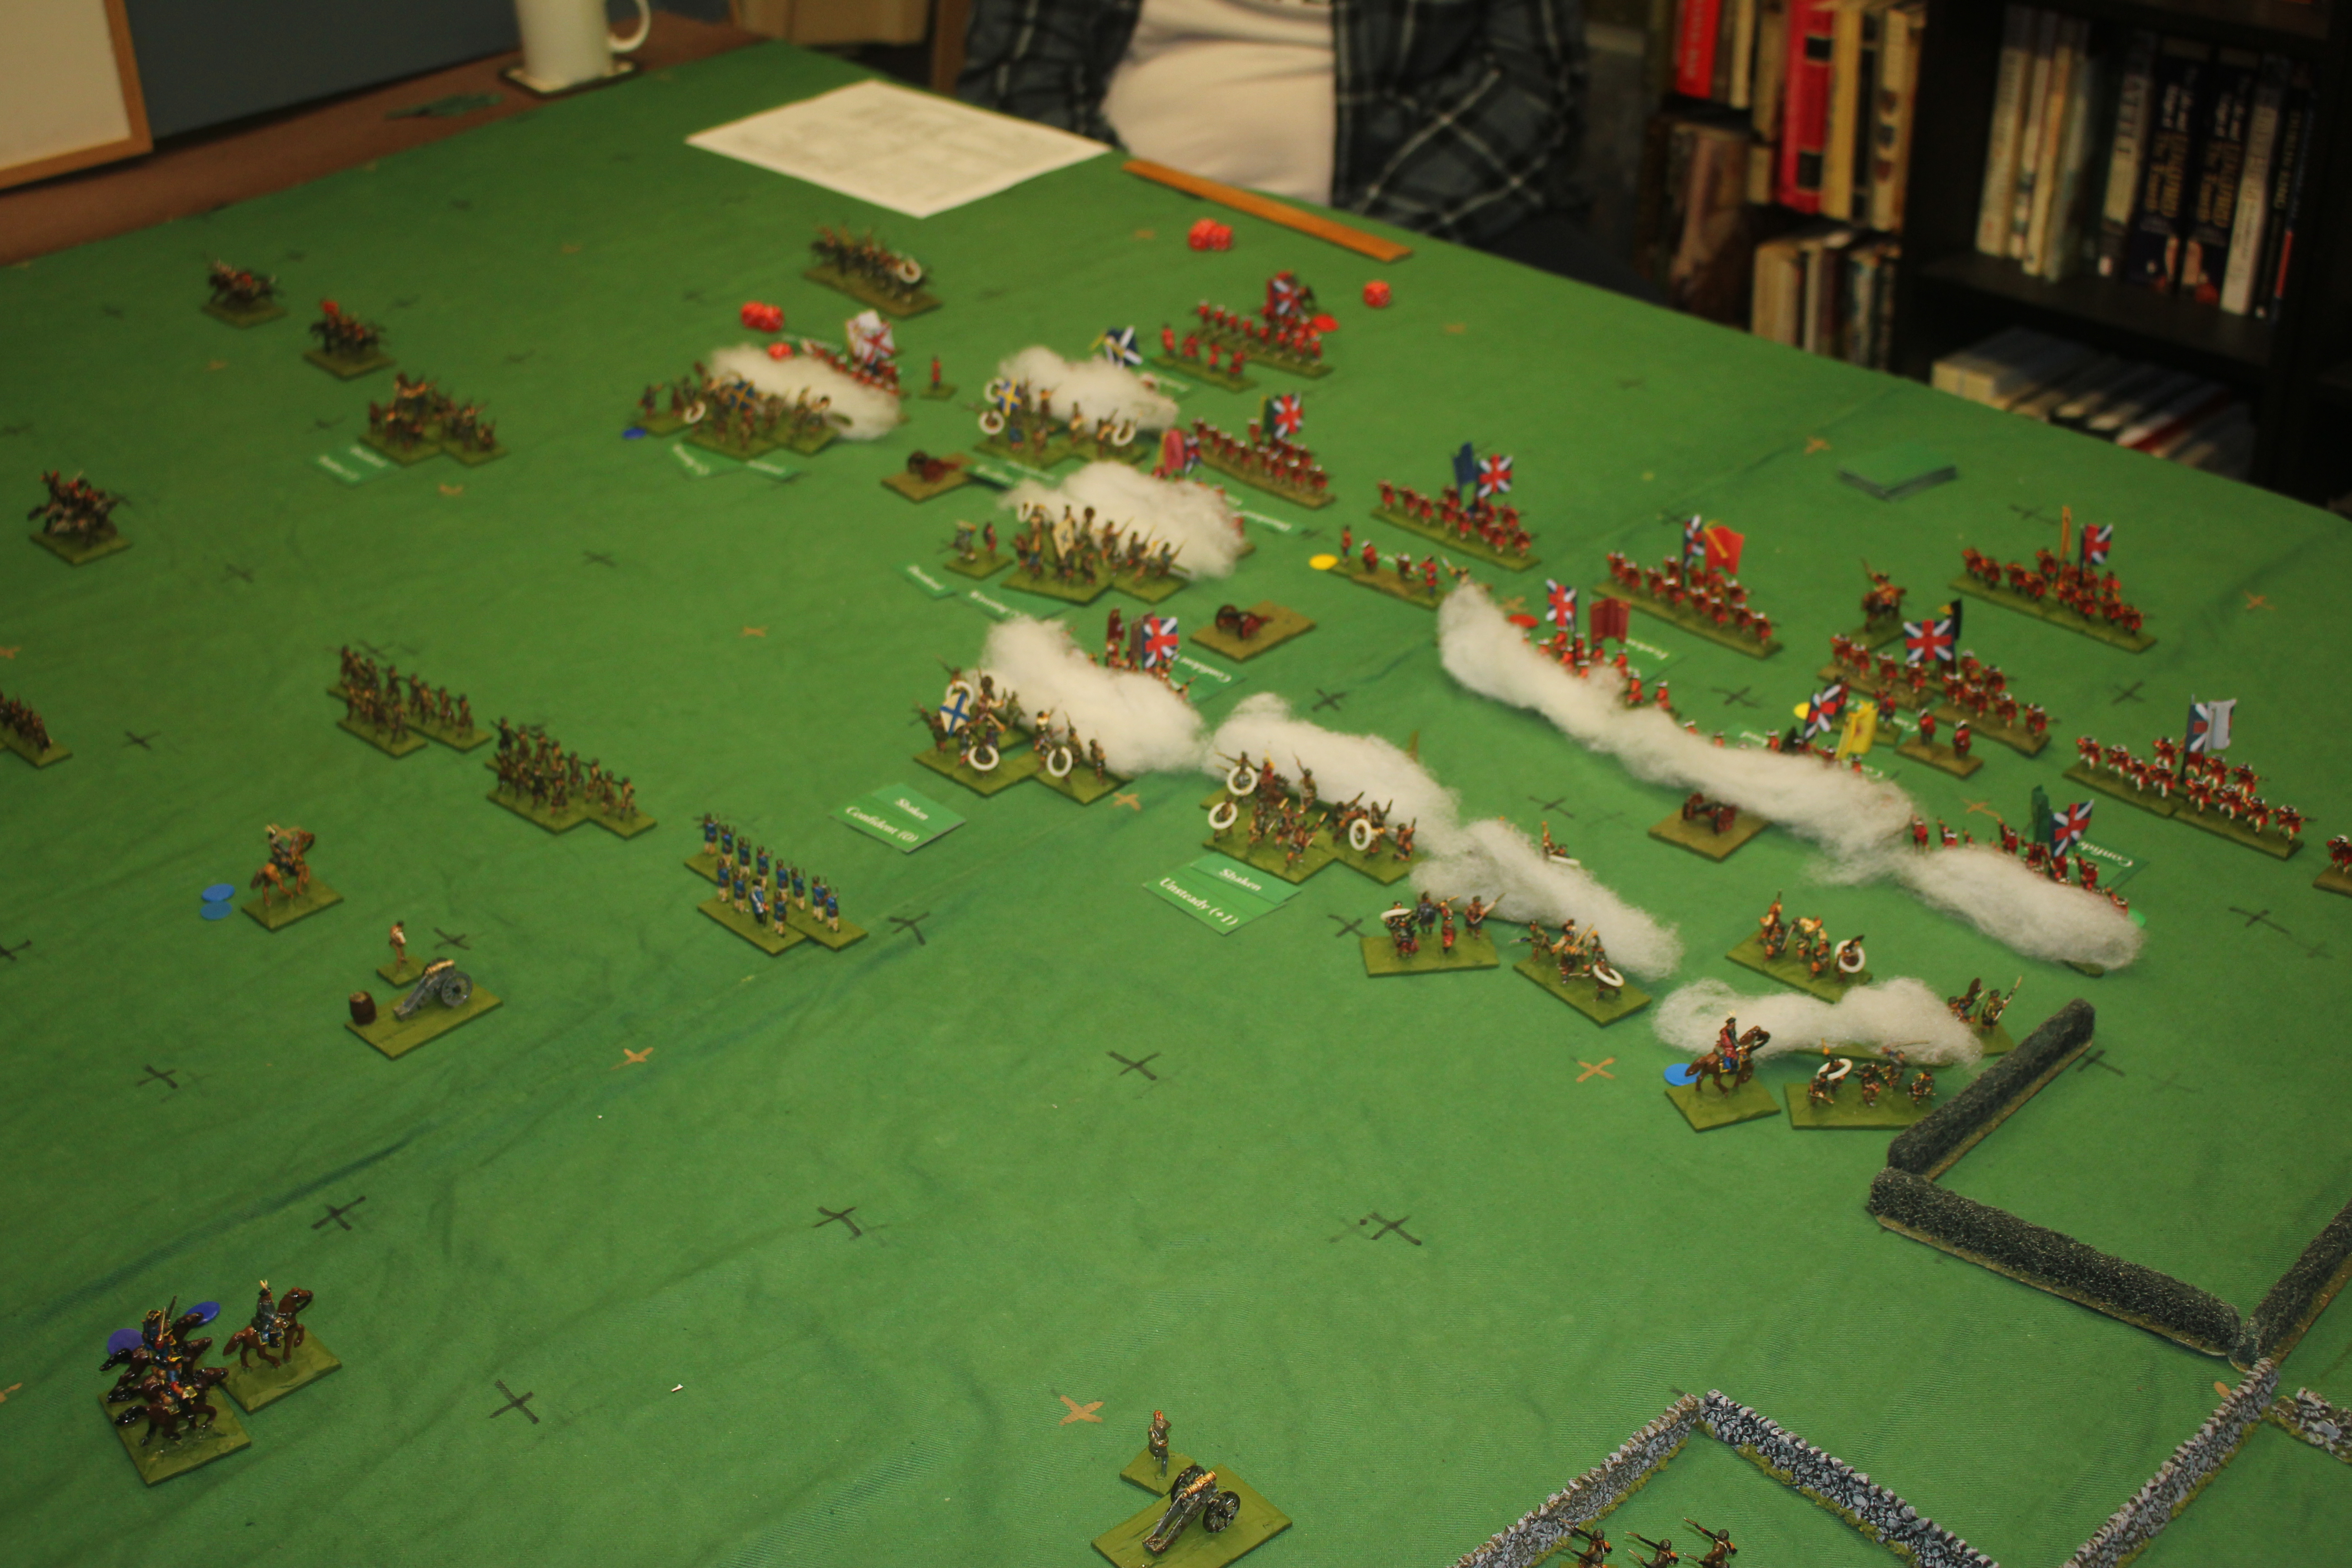
This is the deployment I finally decided upon. I gave the British a square behind their position, so they could be pushed back without being pushed off the table. I put the two battlelines down at maximum effective artillery range, as that's what seems to have been the case at the time. I had more or less decided at this point not to fight the retreat portion of the battle. Some of the terrain is slightly distorted to accommodate the squares, but it's pretty close.
The Jacobites have the initiative, so we opened up with our artillery and missed everything. Oh well, time to unsheathe the broadsword and get stuck in.
As we surged forwards the British artillery fired, and inflicted some hits. In the battle itself the Jacobites had more guns, but very few professional gunners. The British guns were much better served, and so have four gunners per field gun and two per Coehorn against the Jacobite single gunner.
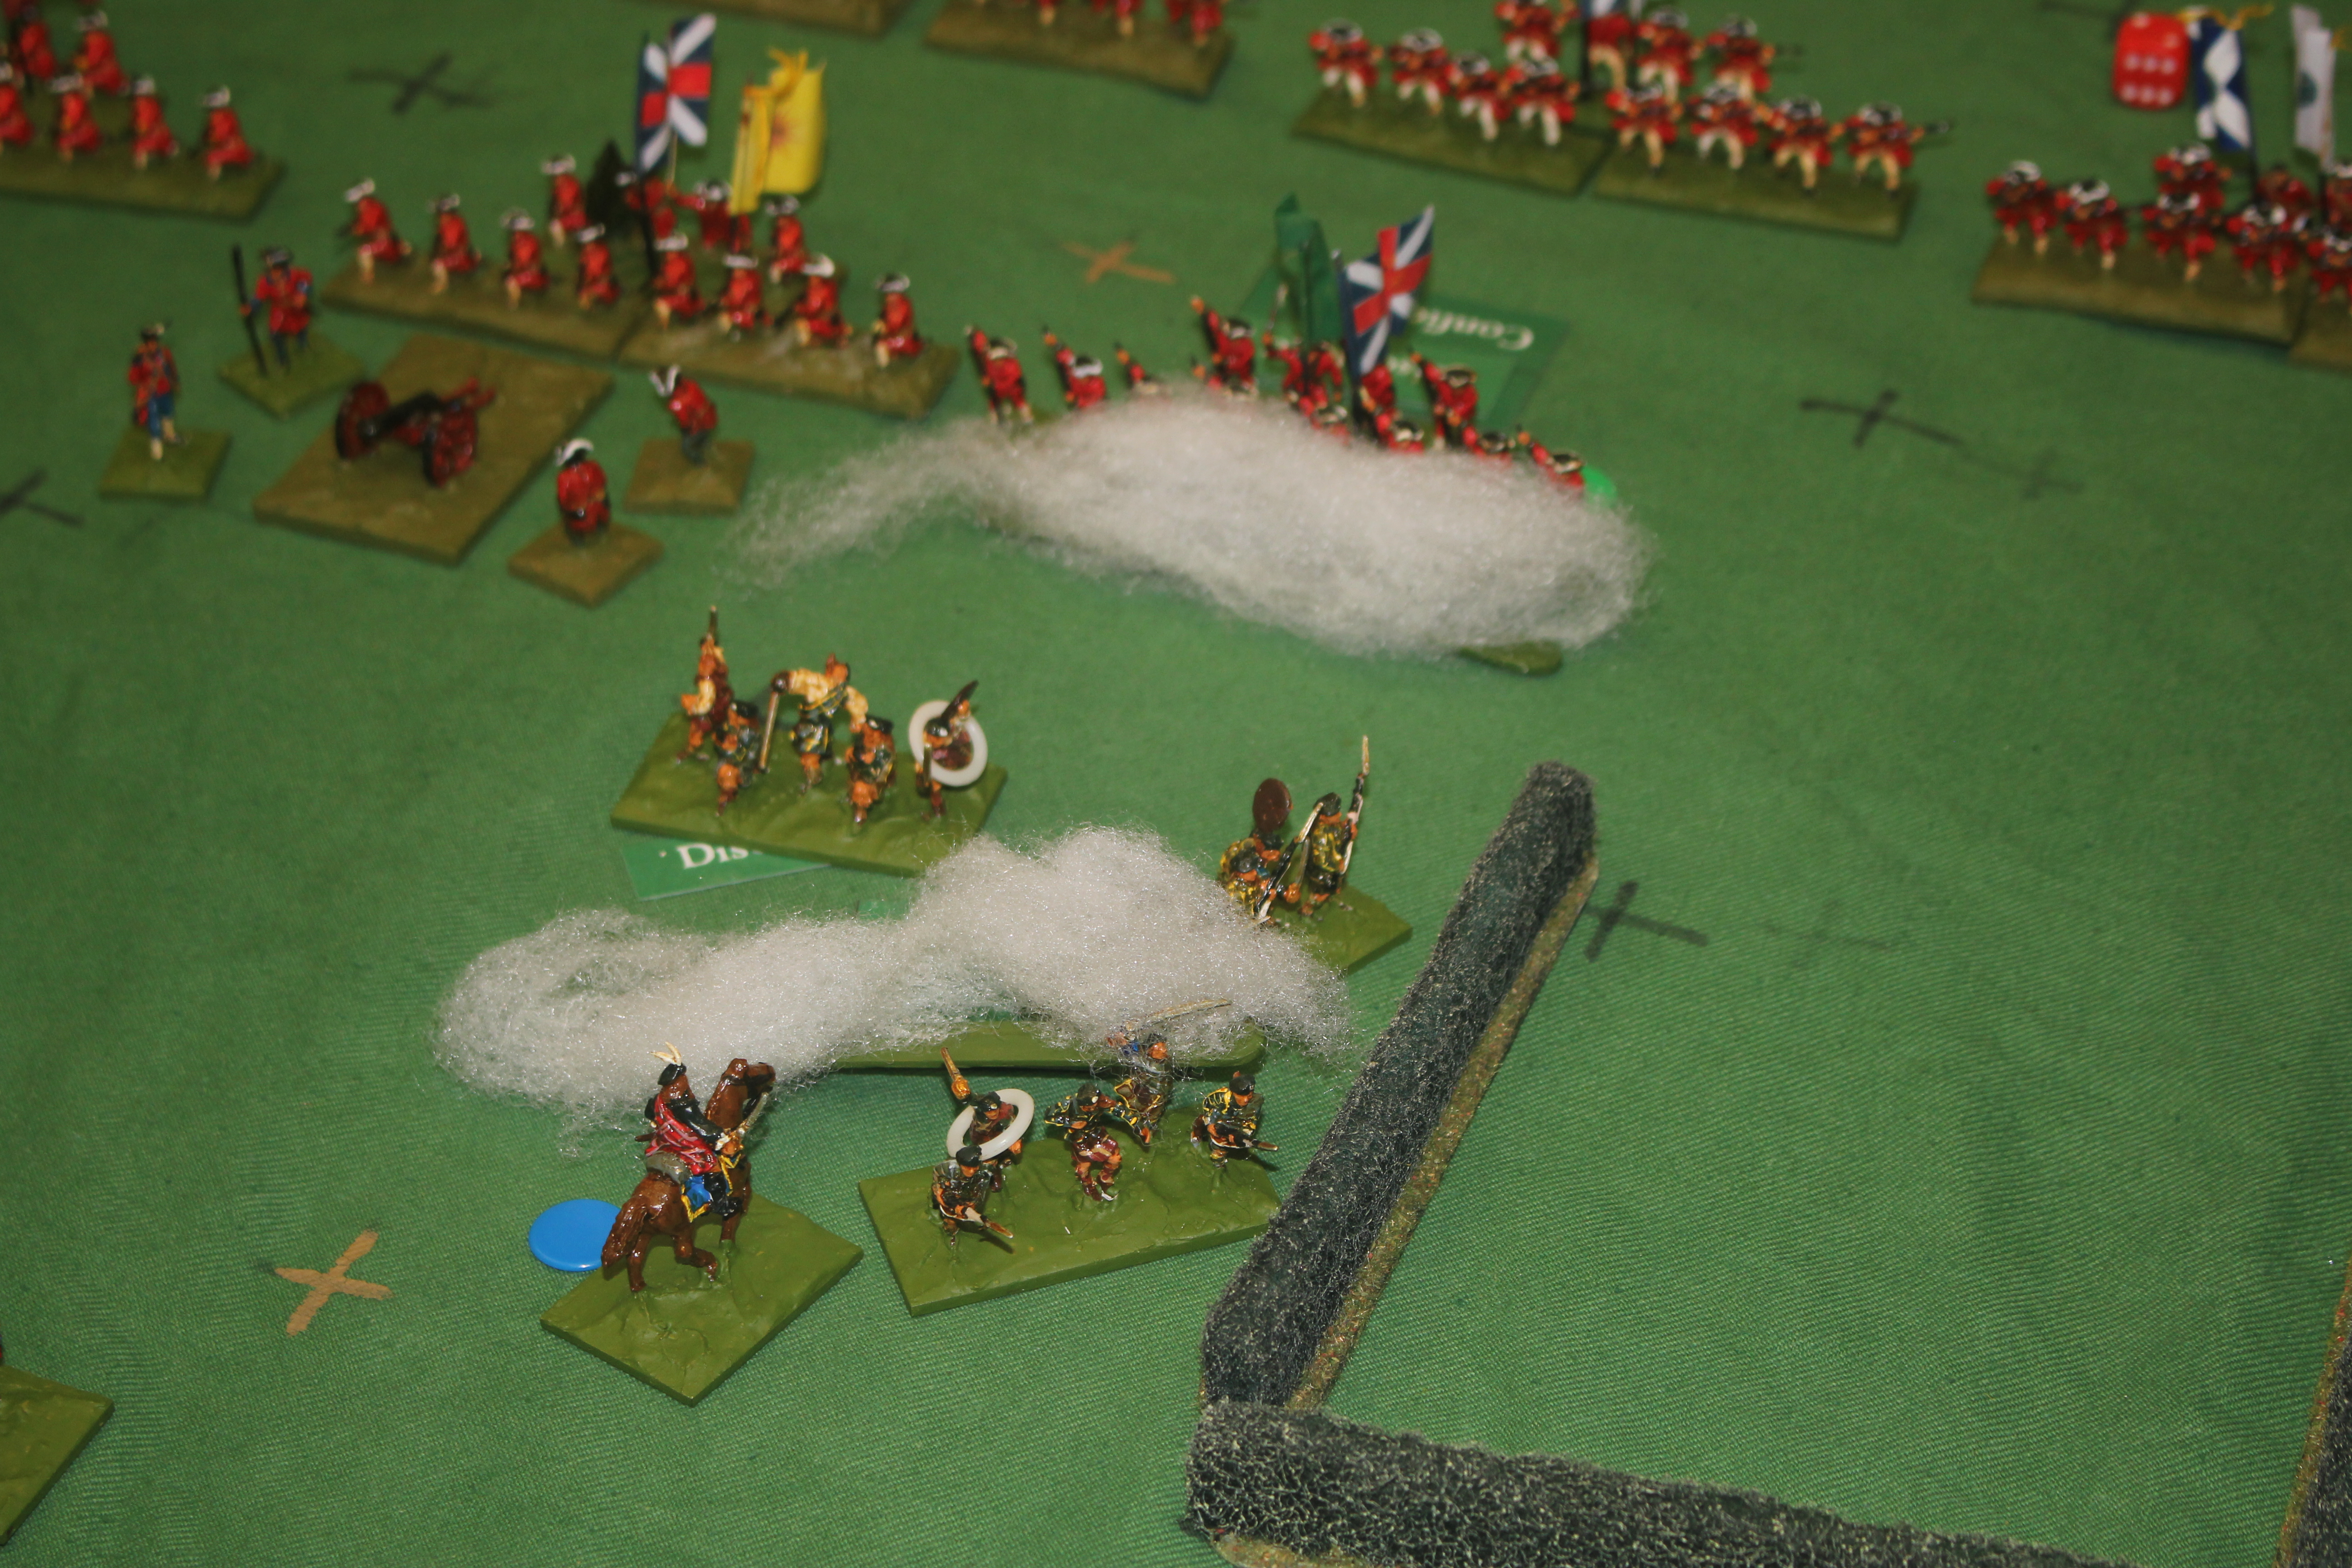
Phil then immediately launched a cavalry charge. This didn't turn out as he'd hoped, especially after unit qualities were revealed.
The Jacobites repulsed their attackers, and sent them packing with various cries and cat calls.
In our turn the frontline charge went in. It started badly on my flank, as Murray's Athol Highlanders were broken.
Their neighbours broke as well. The unit to their left was bounced, and the one to their left likewise. Phil broke the line to pursue them. The next combat was a draw, however the next unit under Steve's command drove their opponents back a square. Steve is having a much better day of it down his end of the table.
His last unit to engage also managed to win out, despite losing its clan leader in the process.
The British counter attack on my wing is getting in to full swing. As my right hand units flee, Steve is able to step forwards and enfilade the clansmen being pushed back by Phil's bayonets.
Although we lose another clan, Steve's men on the left of the line break their opponents.
Alas by then the Jacobite army has broken, and it is game over.
Well, that could have gone better for us. We had a bad run of unit card draws, getting out all of the bad ones and only one of the good. The British experience was pretty much the opposite. Tim had a superb run with the dice everywhere, except for his flanking force trying to throw down the enclosure walls. Not that it mattered in the end.
There were some notable similarities to the actual battle. We did contact one end of the line effectively and drive it back, breaking a British line battalion which didn't happen on the day itself. I decided for this game not to simulate the boggy ground on the Jacobite left, as I thought they had enough problems as it was. I may try the scenario again with a die roll to advance on that wing, but it worked okay without the bother.
The game took us about 90 minutes to play, which was quick. On the other hand, the actual battle itself took about 40 minutes, so perhaps I've got it right, near enough.


I seem to remember the "Two men in a ditch" program (Neil Oliver and Tony Pollard) doing Culloden. One of the revelations from examining the battlefield was that on the flank the Jacobites made contact, there is a very slight slope and dead ground which meant the clans were effectively hidden from view and fire for a good part of the distance to the British line.
ReplyDeleteIt was a fair amount of time ago, so views may have changed.
Neil
I've been drawing mainly on "Hungry Like Wolves" by Stuart Redi, which is the most detailed phase by phase account that I can find. He says that the two lines could see each other, more or less, as when he looked Lord George Murray had a panic attack as he reckoned he'd be charging straight into the British guns. I don't recall seeing that episode, and Reid's book predates it.
DeleteIt seems to be a collection of essays that he has edited. I think I'll keep an eye out for it a shows and so on so I can get a feel for the contents before I buy. It's not like I don't have several books on the 45 & Culloden already.
DeleteAn excellent display of 18th century wargaming, thanks for sharing.
ReplyDeleteWillz.
Thanks. Glad you enjoyed it.
DeleteWhile the game was over quickly, it appears your rules are working well.
ReplyDeleteThat seems to be giving me plausible results fairly quickly, which I guess is a "win win".
DeleteI'm looking forward to when they are published.
ReplyDeleteYou and me both!
Delete