"Is it Burns Night?" said one of the Monday Night Group, as we assembled to have another crack at the final battle of the '45. After some debate amongst a room of sassenachs who agreed that "It's round about now, isn't it?" Chris K settled the matter through the application of Google. It wasn't then, and it is now as I type the AAR. Anyhow, it enabled us to swap memories of Burns Night Suppers, which in my case is mainly of over emotional Scots pretending to remember the words of the Scottish national poet whilst being nearly paralytic before a locally recruited piper comes in and reduces them all to tears. Mind you, the food and drink is always excellent. Even the haggis ("Chieftain of the pudding race").
Back to the game. We had five in SHQ this week, Chris K, Phil, Steve, Tim & me, and Jon F popped up on line to spectate.
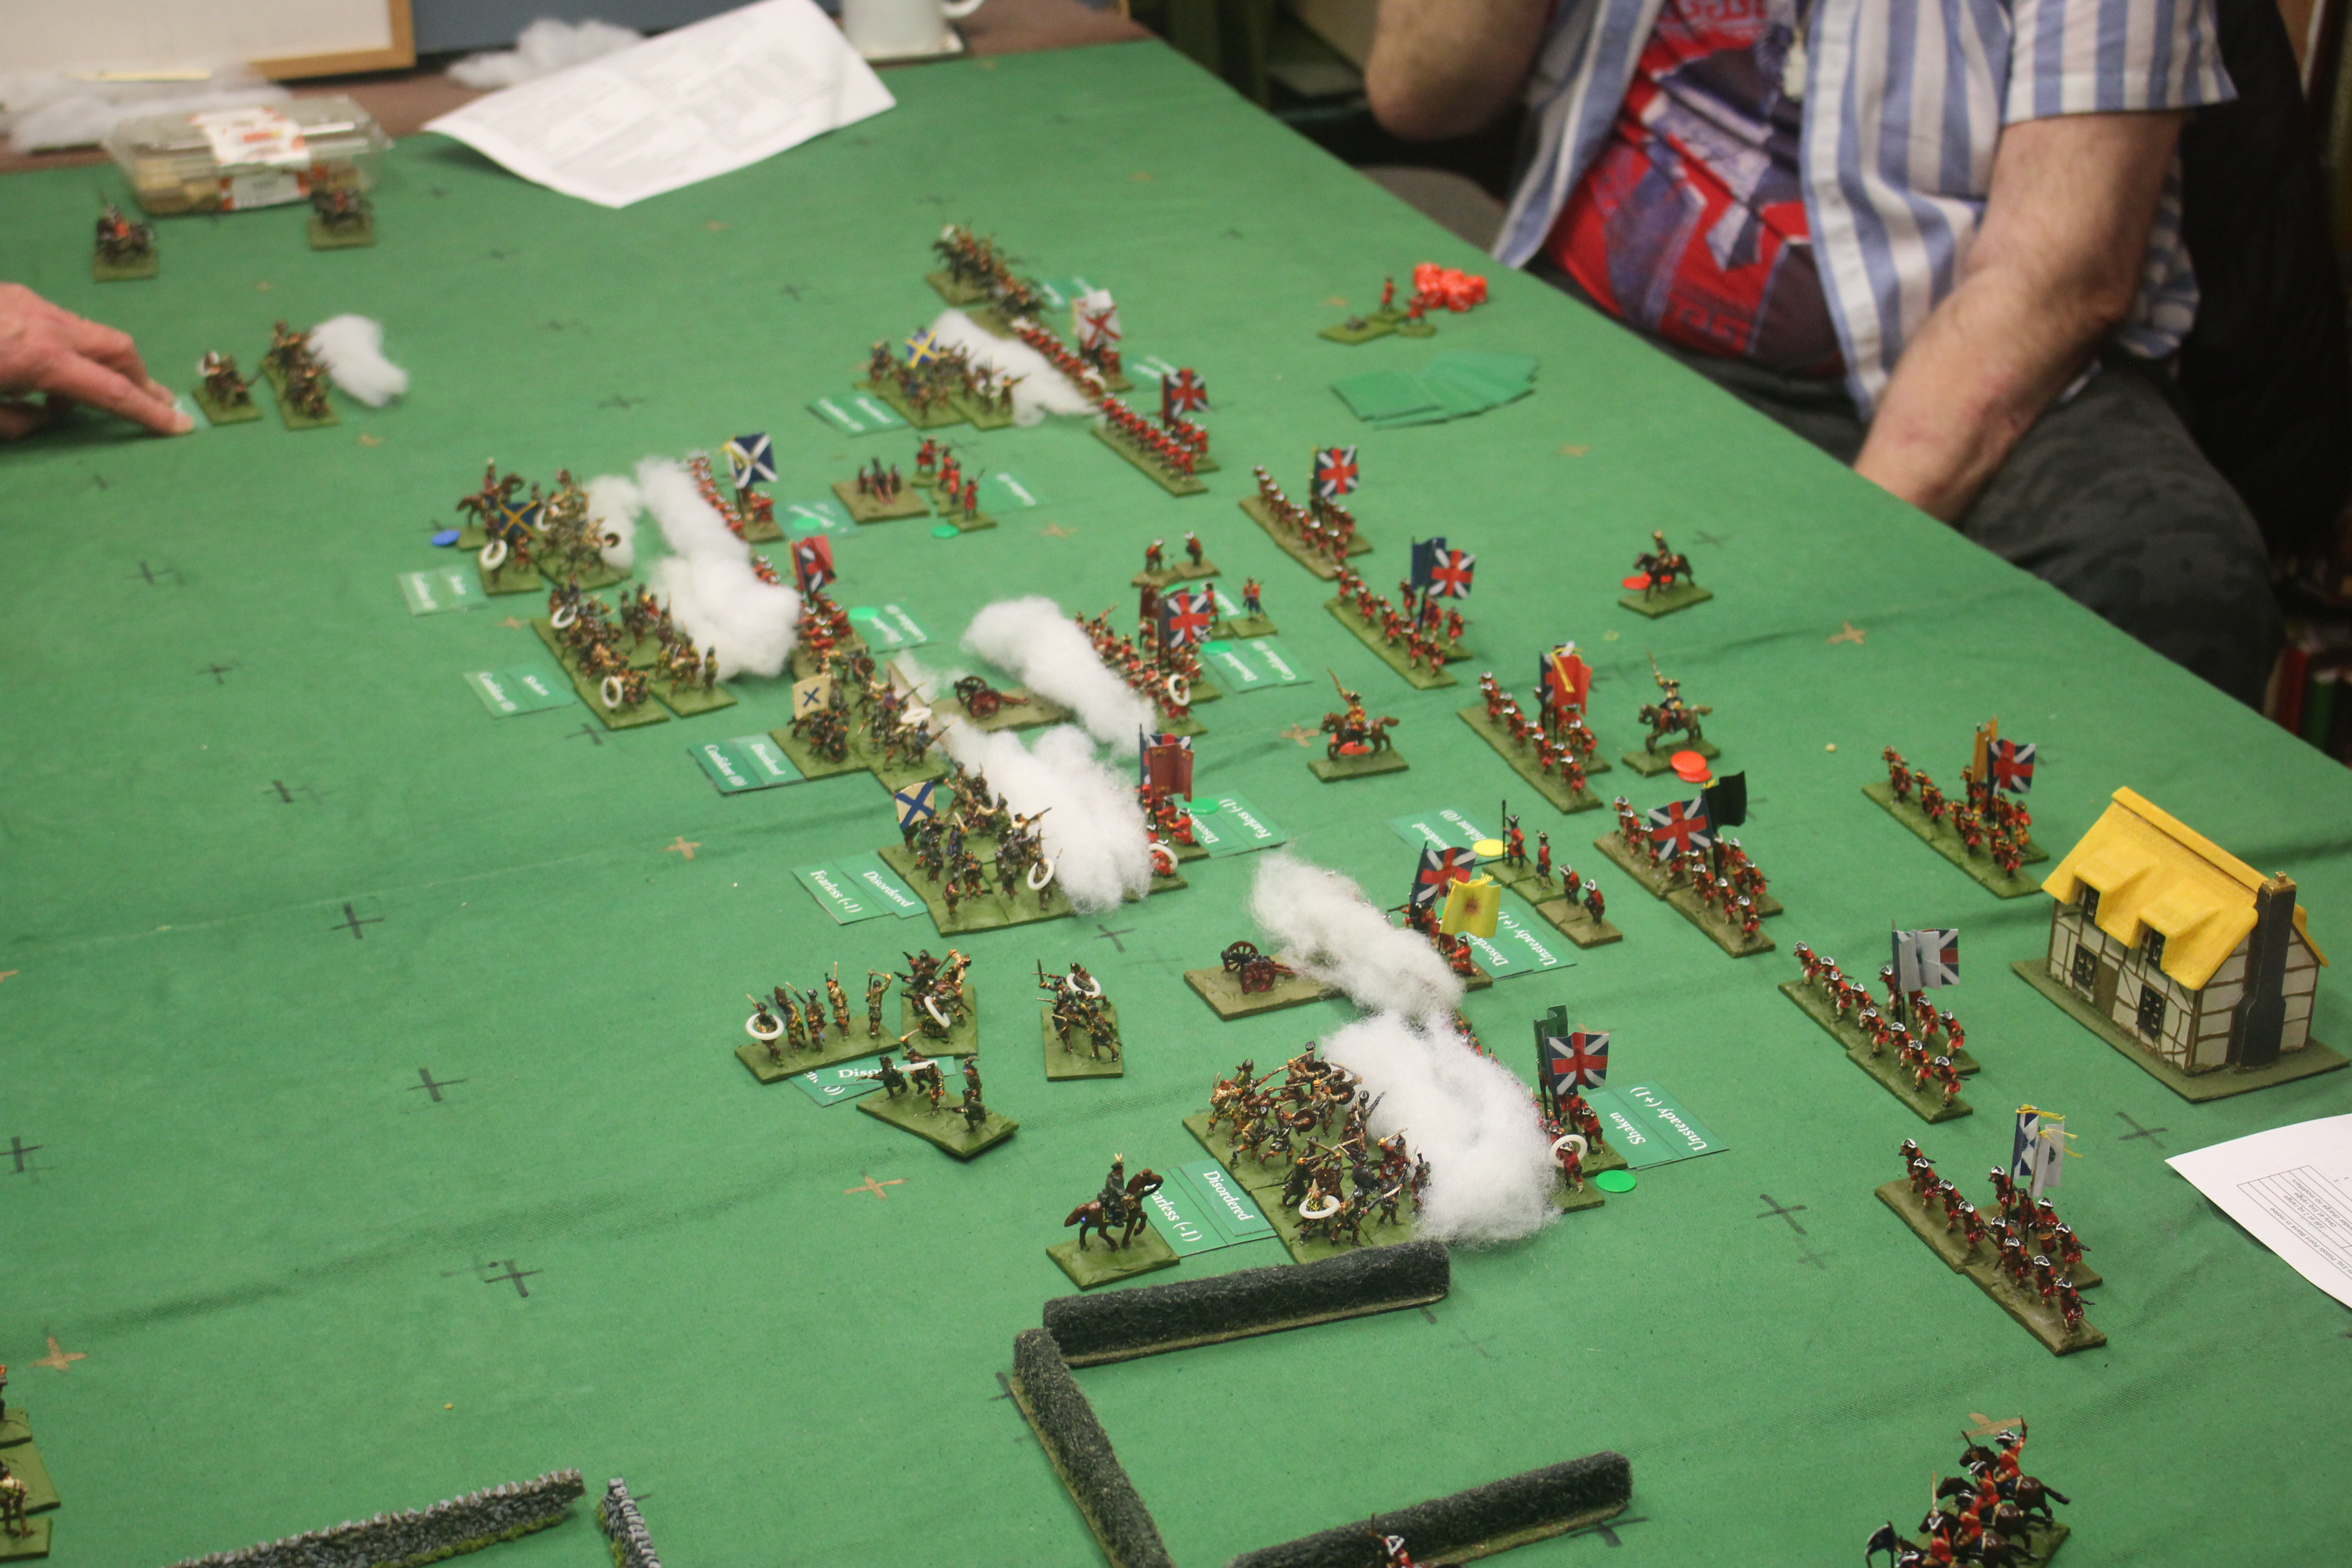
Some slight changes to last week. There's an extra house on the right, and some of the Jacobite Highland units have been increased to four bases, by way of an experiment. At Culloden circumstances forced the Jacobites to bunch up and form deep in places, so I thought that might simulate that a little bit.
Tim swapped sides for this week, and launched his attack with some trepidation, having been in command to the Redcoats last week, and giving the Kilties a pasting.
The British artillery thundered out with good effect.
The right hand end of the Jacobite line strikes home. The Redcoats are unnerved by the attack, and have a yellow intimidation marker. Their musketry does, however, make an impression.
Things go a bit wobbly, however, despite Lord George Murray galloping up to inspire the men. A hard fought melee sees his Highlanders stopped in their tracks, and the Redcoats recover their composure slightly. The green marker shows they are over the initial shock. The Highland regiment to Murray's left is shredded by some devastating musketry and after a short melee they break and flee.
The Redcoats hold their own in the centre of the line, and do a little better on their centre right, driving the clans back at the point of the bayonet. On the left of the Jacobite line Steve achieves success, and drives the Redcoats back. I should note here that Phil tried the same trick on this wing as he did last week, by charging his cavalry in turn one. It turned out the same, with his cavalry being driven off.
Mixed fortunes all round. Chris has wheeled his left hand regiment up to enfilade Murray's men but in a stunning display of dice rolling fails to inflict a single hit. Murray therefore breaks his opponents, before colliding with the support line. I should note here that I routinely forgot to add the bonus for regulars with a supporting unit. Really, I don't know why I give people a QRS. Don't know how much difference it would have made.
At the other end of the line two clan regiments are broken whilst one of their compatriots breaks the British line.
Final turn, more or less. Murray's luck runs out and he is killed leading his men into the Redcoat second line. His unit will break. The clans in the centre fall apart. Forming the lowlanders and the regulars into a supporting line may help some get away, but it is game over. The only issues for the British is the loss of two regiments - questions will be asked in the House - and the slow speed of the flanking manoeuvre.
Another plausible outcome in reasonable time. The four base experiment is something I think I will persist with. It strengthens the clan units to enable them to withstand more fire, but when it gets too much their collapse is inevitable. I obviously still have a problem with the British flanking force under Hawley and the speed it moves. Looking at the battle maps in "Like Hungry Wolves" just now it seems that the British cavalry was through the enclosures and behind the Jacobite right flank before the battle started.
I am now seriously of the view that as part of a wargame the cavalry on the British left is irrelevant. Cumberland's intention was for them to be in position to conduct the pursuit, rather than actually be involved in winning the battle. The Jacobite right has a defendable line behind the cottage, at right angles more or less to the battlefield. There was some Jacobite inaction whilst they broke into the enclosure, and perhaps things might have been different in the pursuit if Murray had lined the walls with his more regular troops to hold up Hawley's men. However, It is hard to see that this would have affected the outcome of the battle in the centre. The net result would probably have been more of the Jacobites escaping and maybe more guerrilla warfare in the Highlands, but that's just dragging out the inevitable. I may try this again with them further round, but I was coming to the view when we wrapped on Tuesday evening that there might be a benefit in chopping the board off the at the end of the British infantry line. I probably also need to look at victory conditions, and devising a who did better than history type of outcome, so the Jacobite players can lose the battle but win the game. I know this is a good idea as Jon F suggested it in an email as I was thinking the same thing.
And a braw Burns Night to all of you.


Comments
Post a Comment