More RCW playtesting. Russian Civil War Guru, Mark Plant, made some pithy comments on TMP recently and posted some links to more memoirs he has translated. This made me rethink some of how I was doing things, and reaffirmed my decision not to make these rules an SCW supplement. The systems still have a recognisable origin in FWTDR, but there are aspects of the RCW that meant I needed to reconsider some design features that I had carried over.
One of the things that is very different and that I have to get right is cavalry combat, so this Tuesday's game featured two cavalry brigades going at each other. Of course the players didn't know that at first.
The Whites had three cavalry regiments, supported by a battery of artillery with one howitzer and one field gun. The Reds had three cavalry regiments, a motorized infantry battalion and one field gun. Both were tasked with exiting the opposite end of the table, played lengthways, ensuring no enemy forces in their rears.
We had some technical issue that meant we only had one camera, at the far end behind the Whites. The Whites were commanded by Jon, aided by Ian on-line and Patrick in Shedquarters. The Reds were led by Richard, with Will on-line and Phil on site.
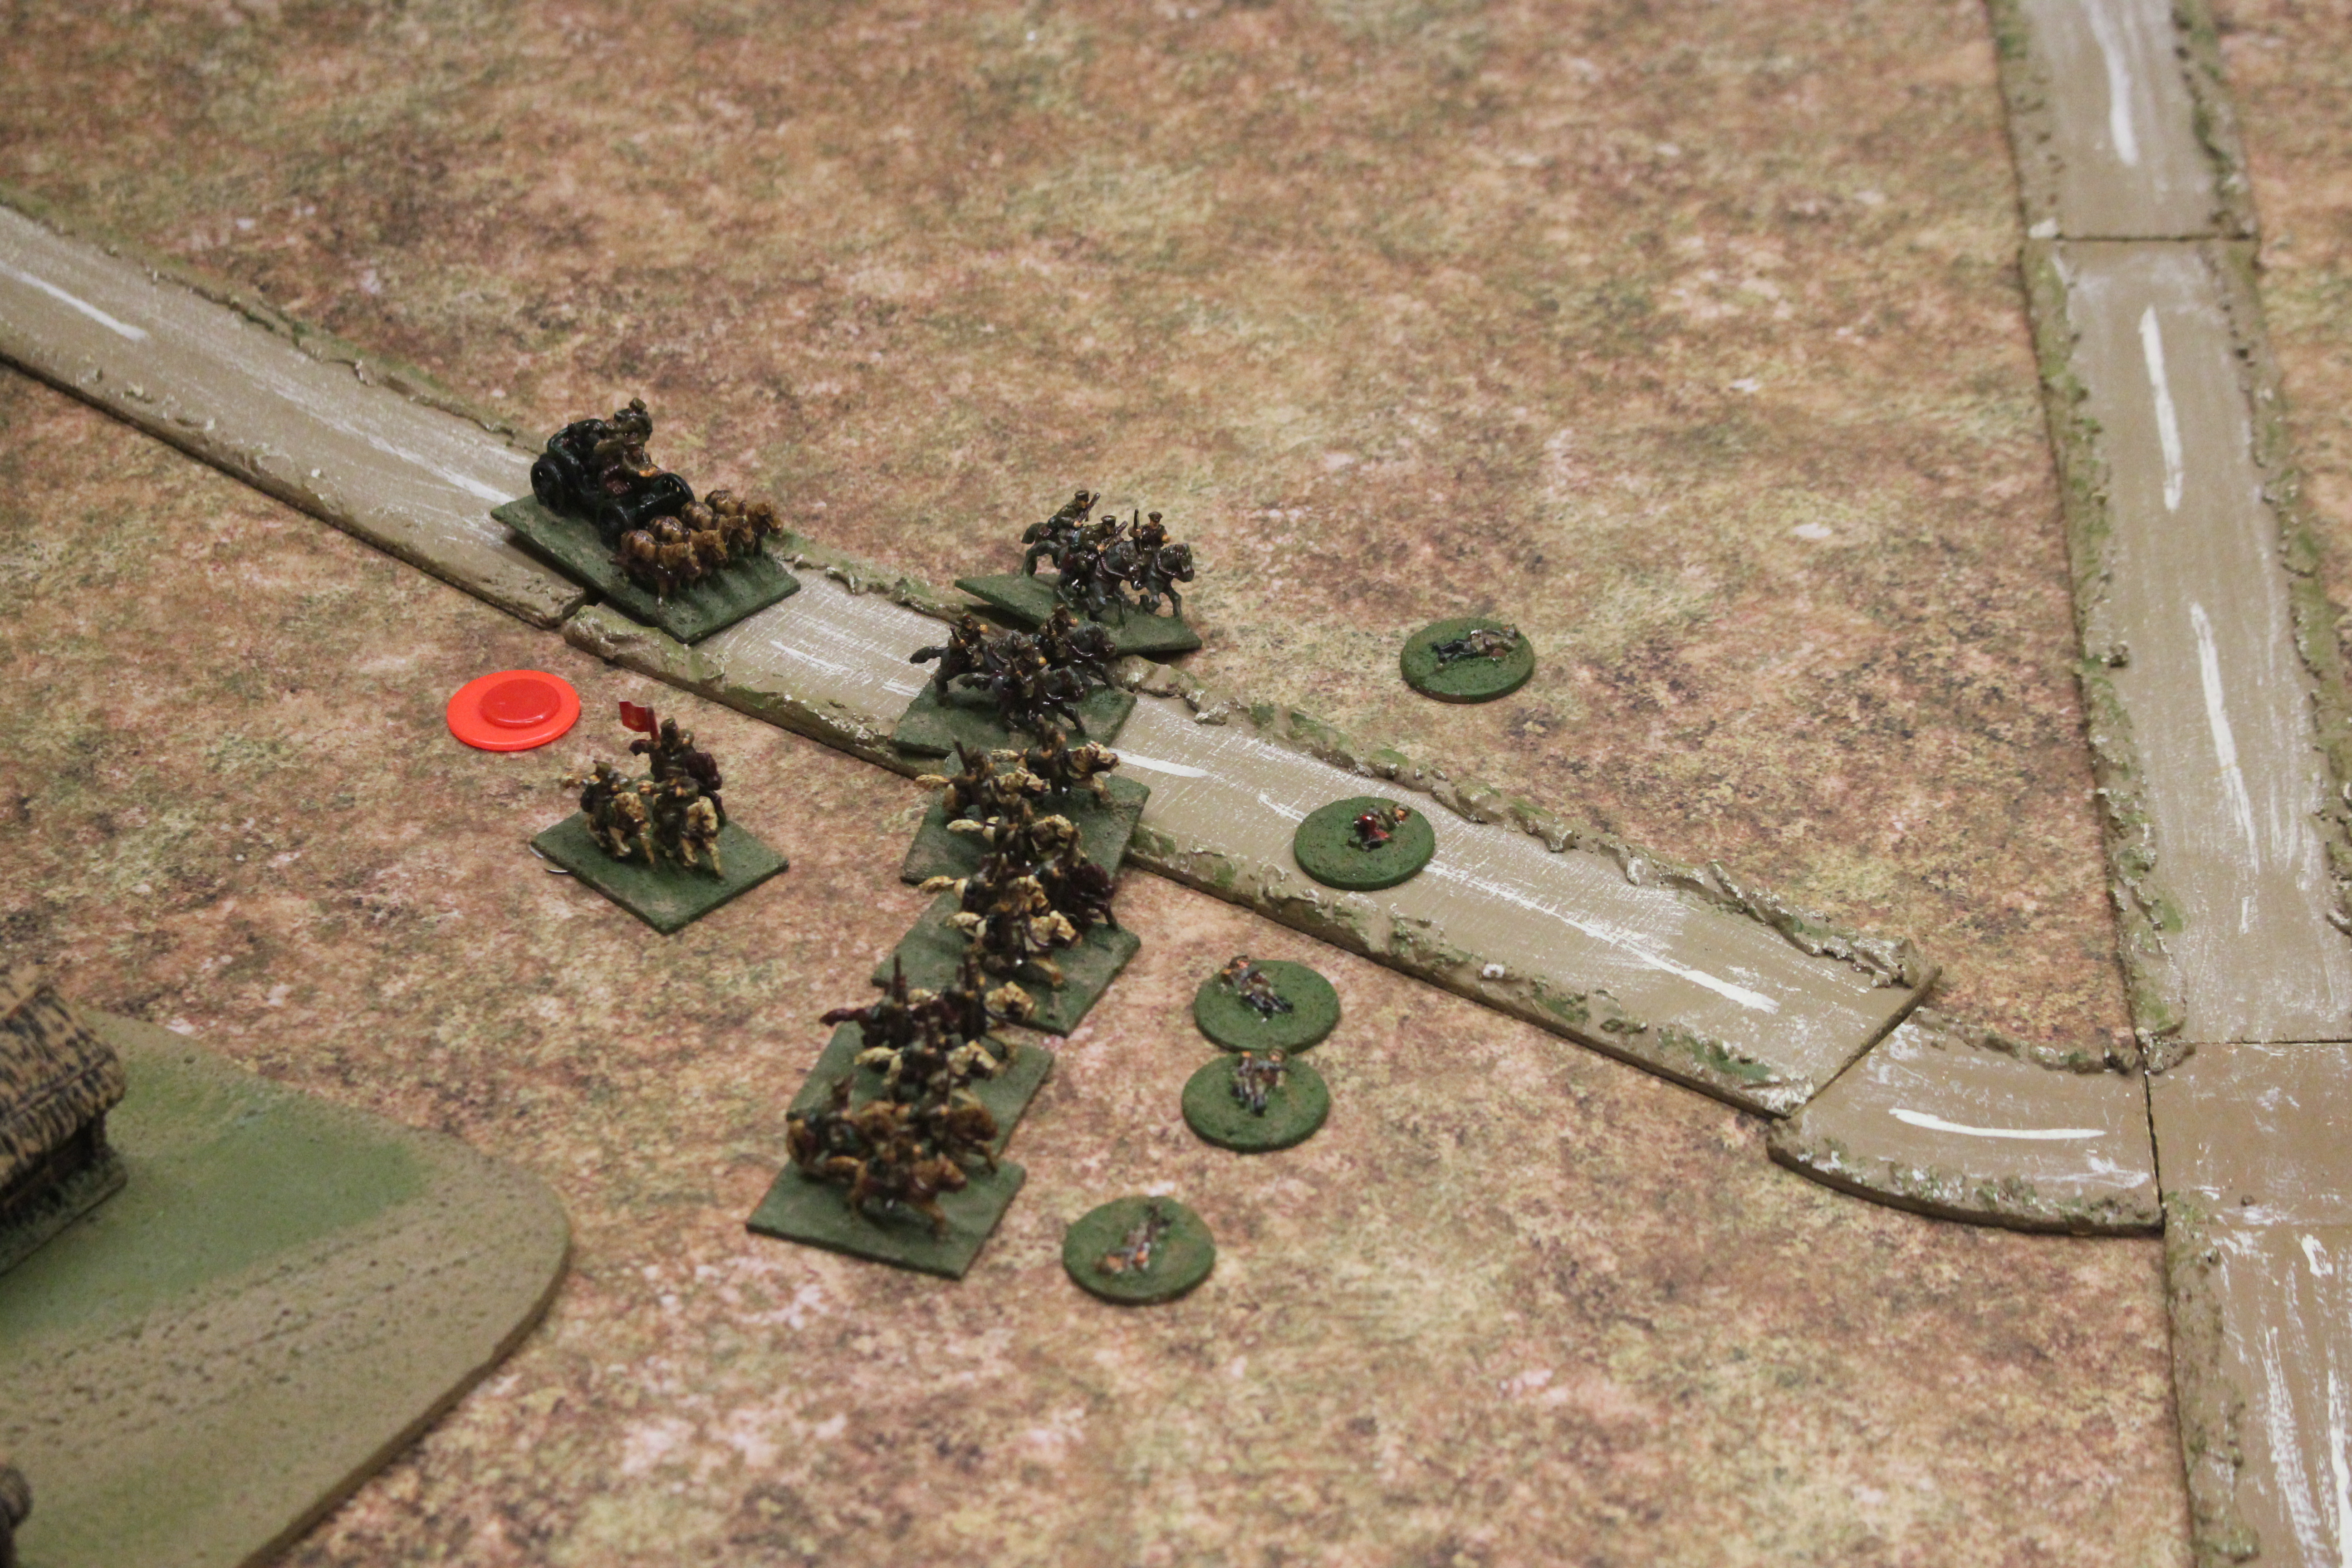
These were both small forces with high levels of army effectiveness. This gave both commanders a lot of flexibility. The Reds won the first initiative roll, and sent their artillery up on the hill to provide cover for the advance. They sent two cavalry units out wide and pushed the trucks up the main road.
The Whites swung out to their right
Richard, with a handful of red cards was forced to take (and fail) a number of Nyet/Da! tests, but he drove his men on regardless.
Jon deployed his artillery, and sent up his reserve cavalry to do a sweep of the town for Bolshevik sympathisers.
Jon opened up with his artillery and missed the target. With the table this way round guns are firing at longer ranges than normal. This provided some entertainment. Phil is running the right flank, and is going wide to turn the flank of the Whites.
As the White cavalry try to dominate the centre of the board, The Red artillery targets the White guns and drops a barrage right on them. Jon's gunner's limber up and scurry off out of the way.
Two cavalry regiments line each other up...
The combat is inconclusive, with both sides ending up back on their start lines with a few casualties each. Will de-busses his infantry and forms a defensive line.
As the White cavalry tries to encircle the Red left, Jon attempts to silence the Red artillery. His shelling falls short, dropping between the opposing cavalry regiments.
There's a picture missing here. In his attempt to correct his artillery fire, Jon drops a barrage on the Red cavalry at the base of the hill. They retire out of range in Disorder. His second correction lands exactly on target, and it is the Red turn to limber up and get out of the way.
The White cavalry swing round Will's infantry and attack them from behind. They about face, but are unable to get off a volley.
It does not go well for the infantry, who are slaughtered to a man.
The Whites seem to be well on top, controlling the centre of the board. But what is that in the top right corner? Phil is using the hill as cover to sneak up on Jon's guns.
The cavalry in the centre close again, and this time the Reds get a big win, breaking their opponents.
They are then able to turn on the victorious White cavalry in the centre.
These are broken and destroyed.
On the other side of the road in order to prevent a White breakthrough, Richard orders Will to charge his disordered horse into the White cavalry who have just defeated the infantry. Despite taking the charge at the halt, the Whites prevail.
The Reds are thrown back
Patrick then attacks them in the flank with his cavalry regiment.
This finishes them off. Have the Whites broken through?
And then one of Phil's two flanking regiments sweeps down upon Ian's cavalry, fresh from chasing off Jon's guns. Phil's men are fresh. Ian's are not, and are defeated.
Phil's other cavalry then charge in, and destroy Patrick's regiment
The Whites are down to one Cavalry regiment on the board. Their artillery has escaped safely, but will play no further part in the battle. The Reds have lost their infantry and a cavalry regiment, but they win the game.
My! That was a hurly-burly battle, with cavalry swirling round each other. Those poor infantry never had a chance. I thought the Whites had it in the bag, but it flipped in the last couple of impulses. I got a lot out of this play test, as it's the first time I've used motorised infantry for a while. Lots of good questions from the players.
And much better internet speeds, now the weather has improved.


I can see that you had tachankas on the board but there is no description of them. Do they just move with their associated regiment?
ReplyDeleteHow do the rules play if the tachankas are massed, which the Reds often did, rather than distributed?
I haven't tried that yet. I would think that two or three bases together would be fairly unpleasant.
DeleteAnd I should have said that the tachankas normally move with their regiments, but you can split them off, for example to "shoot in" a cavalry charge, or cover a retreat. If they move with their regiment then they can share the activation, if they move on their own then they need their own activation card.
DeleteThat was a bit different and really interesting to see how cavalry work against cavalry. Looking forward to seeing the rules published.
ReplyDeleteCavalry is the main development area and one of the things I really want to get right. It looks and feels right to me, so positive feedback is very reassuring.
Delete